Lab 1.1 Installing GNS3 - the virtual network simulator. (VMWare Workstation Edition)
(Updated for RouterOS 7.x / VMWare Workstation 17.x)
In this exercise, we are going to create a virtual network lab. In order to install the software and complete this lab, you'll need a Windows PC that meets the following minimum system requirements.
Why are we doing this? This software will allow you to simulate having an actual device and actual network setup as opposed to setting up a real test network with actual hardware. We wanted to give you the ability to see how the hardware operates without first having to make the investment in actual hardware. Also, this will give you the ability to perform some tasks that might be difficult to initially setup. We recommend performing these labs using a Microsoft Windows-based PC, but there are builds of the software for Mac-OS and Linux-based workstations, although the setup and configuration of those devices may differ from the step-by step instructions provided here.
OS: It should be at least Windows 7 64-bit.
Processor: You must have at least a dual-core processor.
RAM (Memory): 4 GB minimum
Disk Space: A minimum of 2GB of free disk space required.
Recommended:
OS: Windows 8, 10 or Windows 11 64-bit.
Processor: 4 or more logical processors. Core i7, i9, Ryzen 5 or 7 recommended.
RAM (Memory): 8GB is sufficient, but 16GB is recommended.
Disk Space: Minimum 2GB free disk space, SSD is recommended but not required.
The first piece of software we are going to install is GNS3, which is a graphical network simulator program that will allow us to simulate physical MikroTik device(s). Follow the steps below to install GNS3.
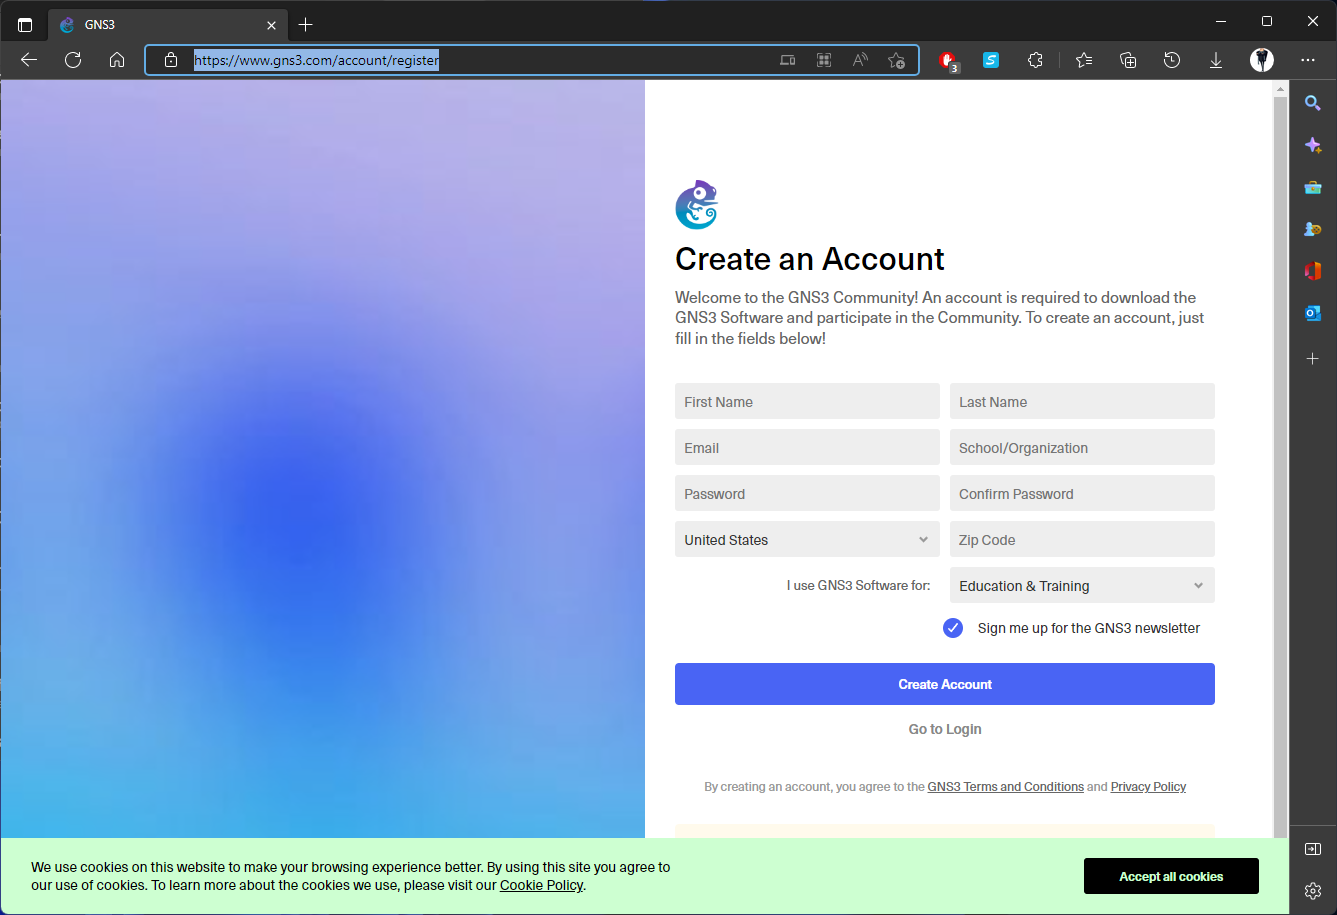
Step 1: You will need to create an account in order to download the GNS3 software. Please visit https://www.gns3.com/account/register and fill in the information on the page to create your account.
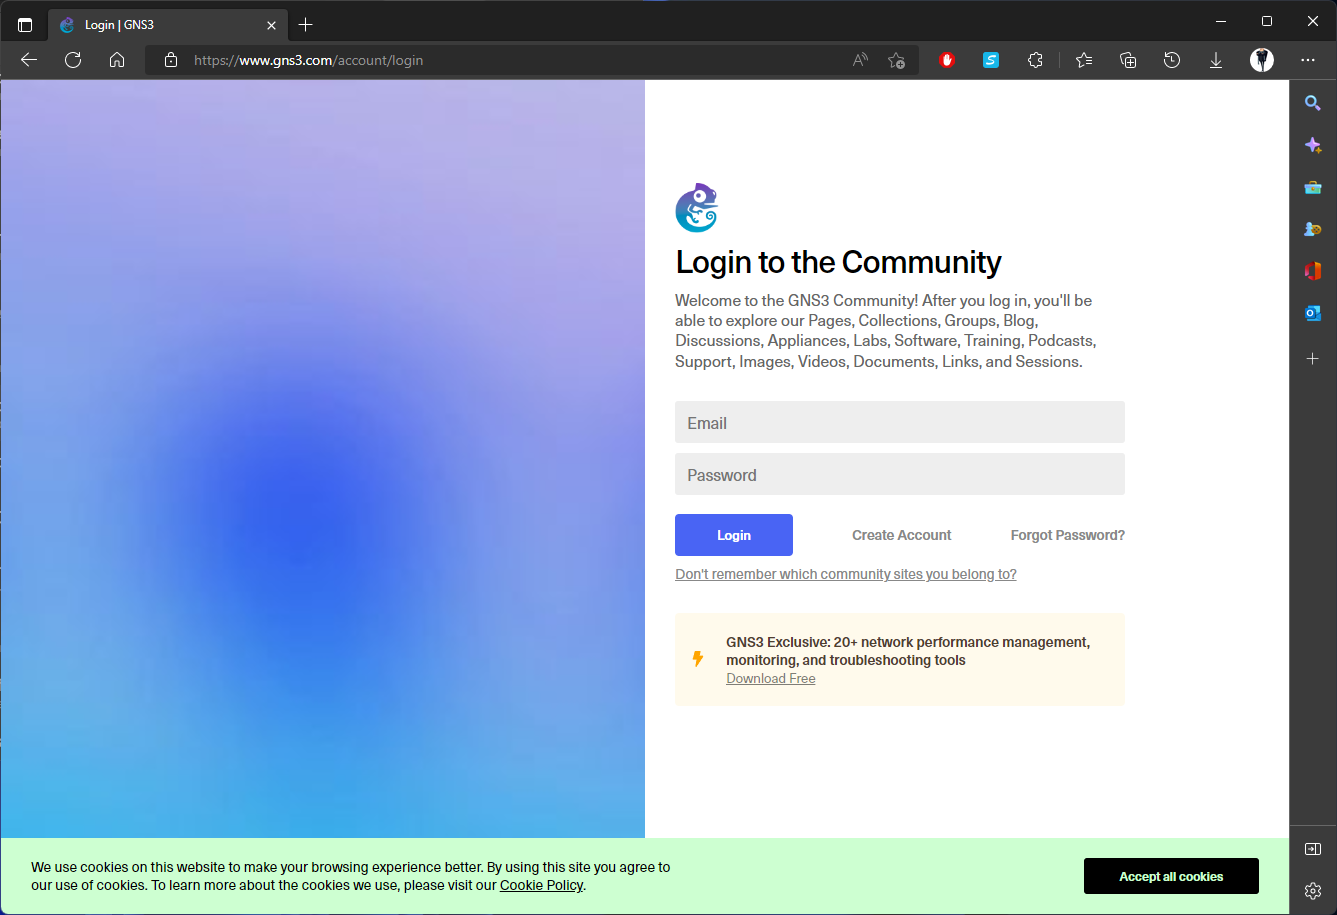
Step 2: Once you have registered your account, please login to the website. You can login by following the link here and will be required to login in order to download the required software.
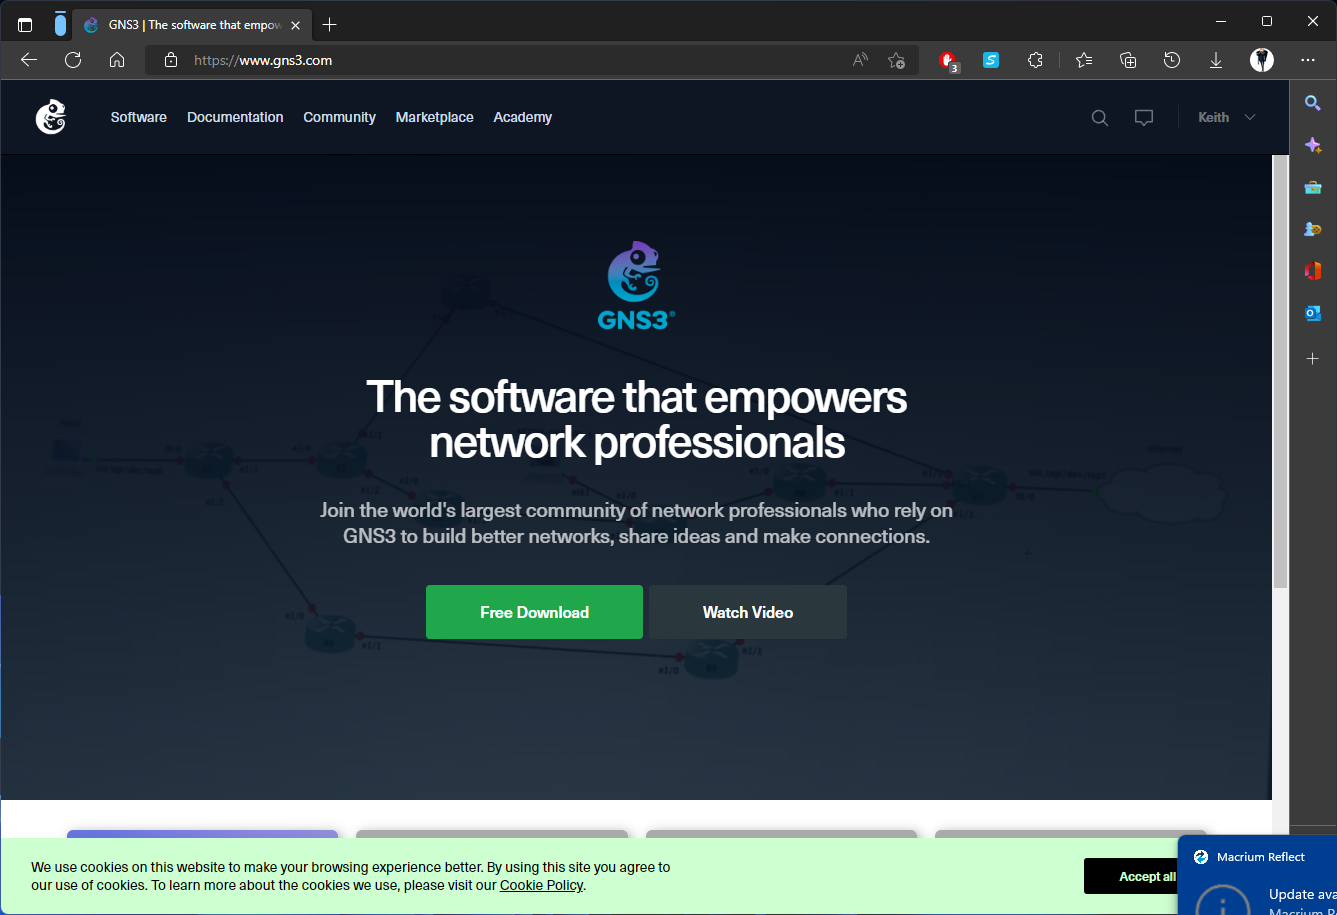
Step 3: Once you are logged in, you will be redirected to the home page, https://www.gns3.com. Click the Free Download button.
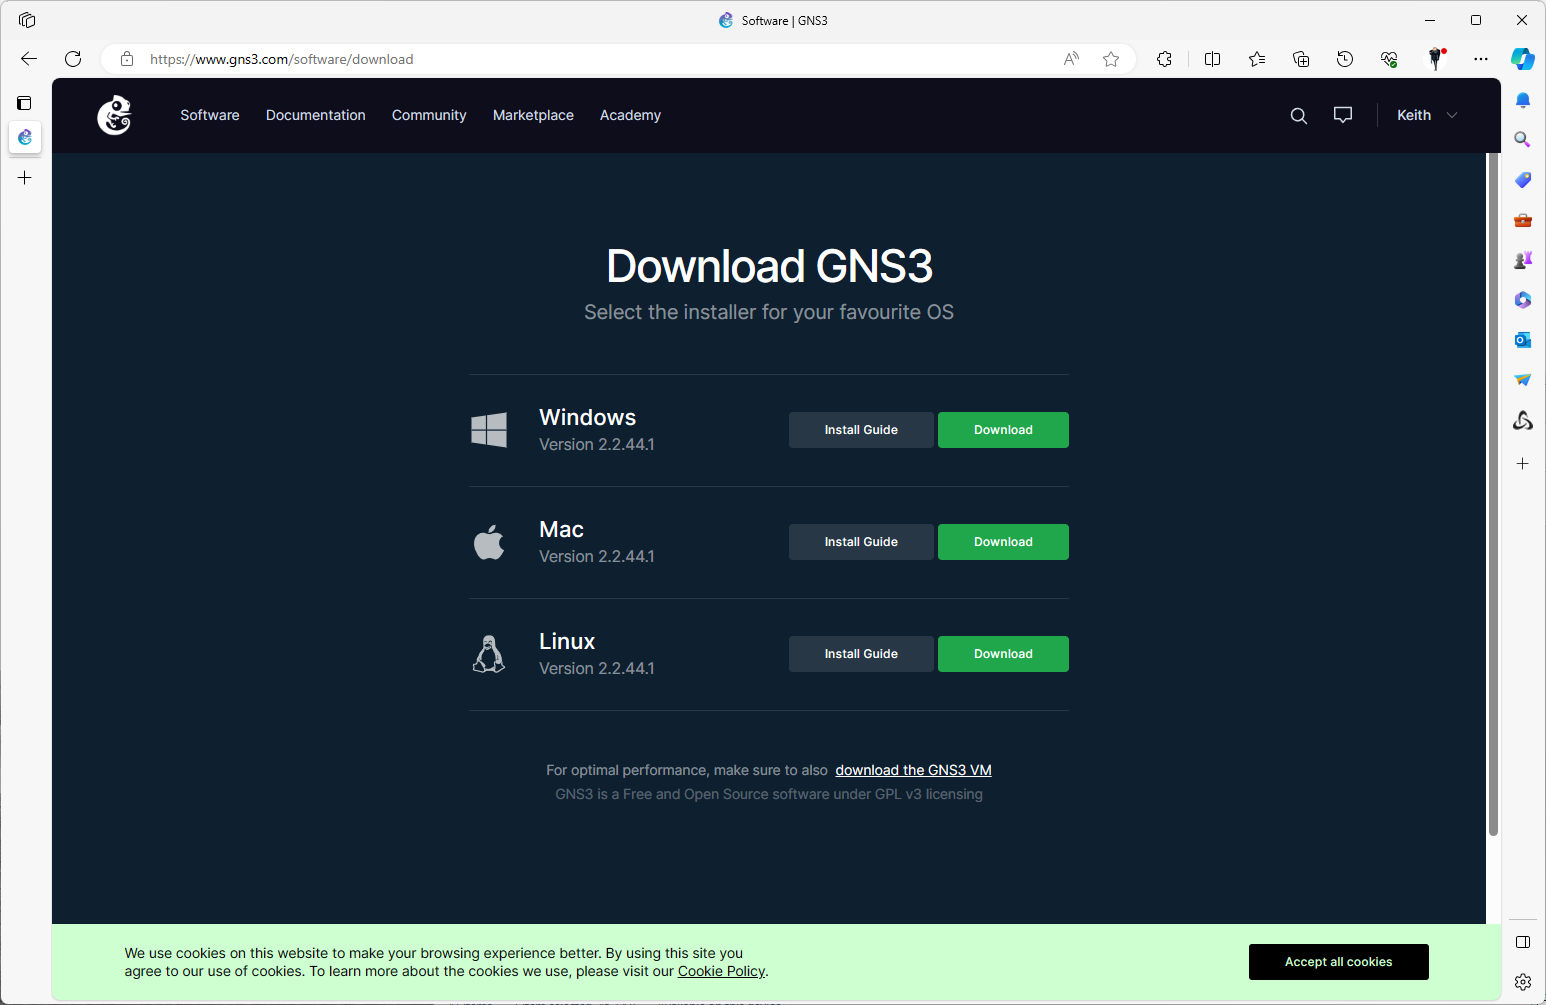
Step 4: Once you are redirected to the download page, select the appropriate version of the software for your machine. We will be installing the Windows version for this demo. We recommend using a Windows based machine for the course and tutorials if possible because other tools that we will use during this course will require a Windows based PC. (You may find substitutes for some of the tools we use for the OS that you are on, but that is outside the scope of this lab.)
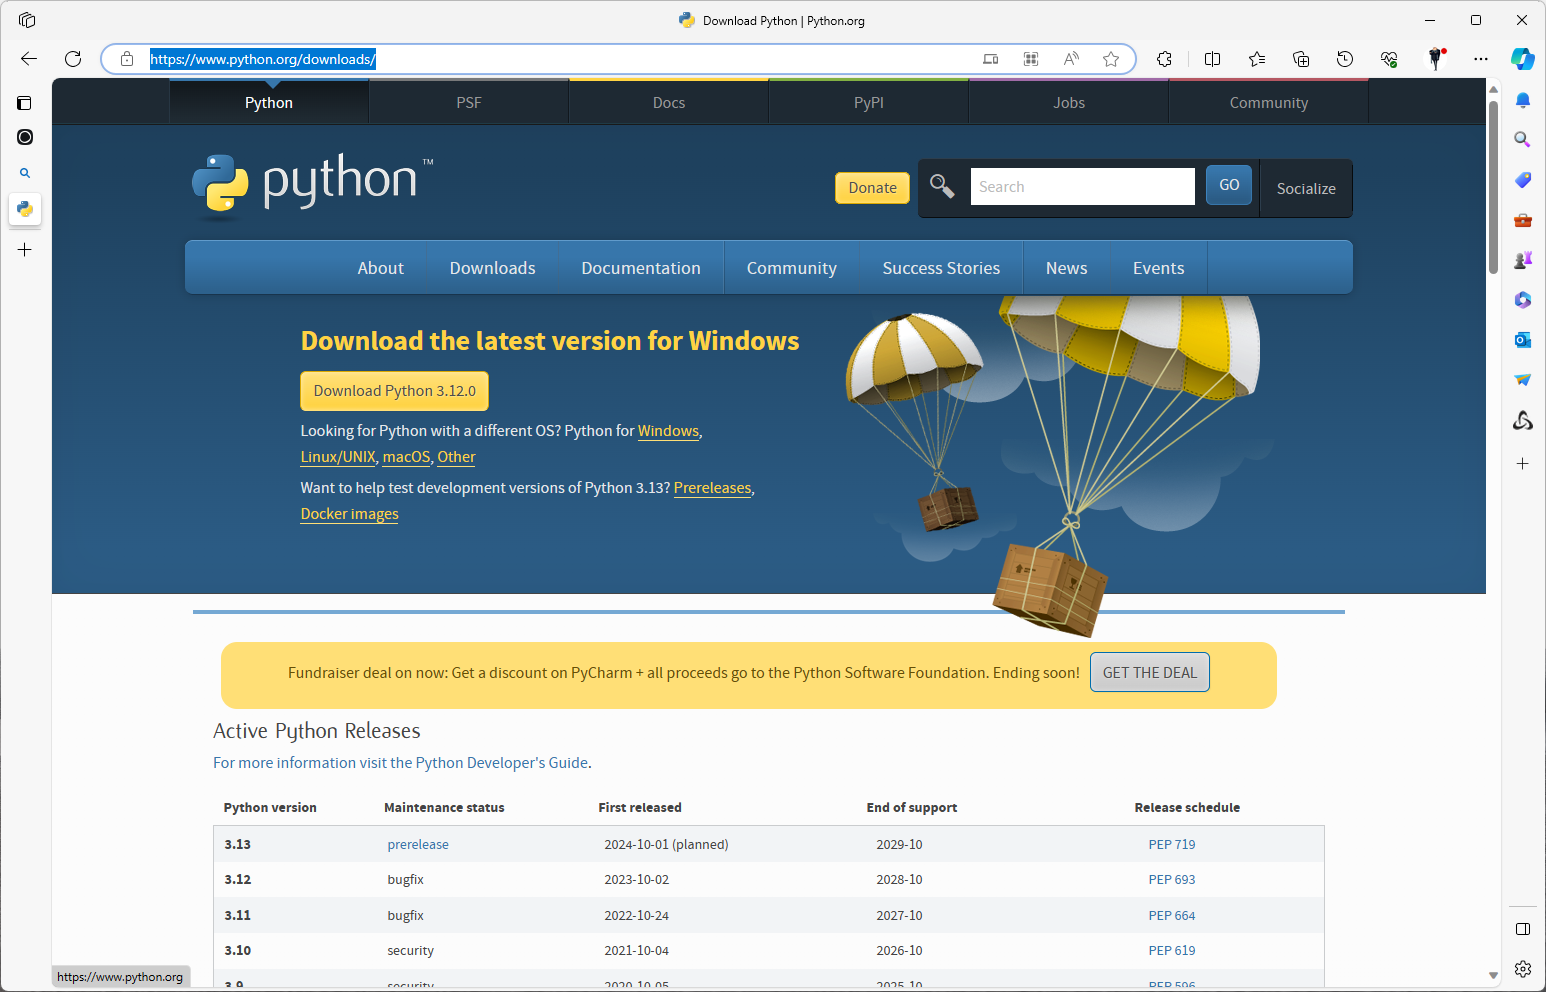
Step 5: Before we proceed with the install, we will also need to install Python if it is not already present on our machine. Proceed here to download and install Python
Download Python | Python.org. Download the latest version of Python listed.
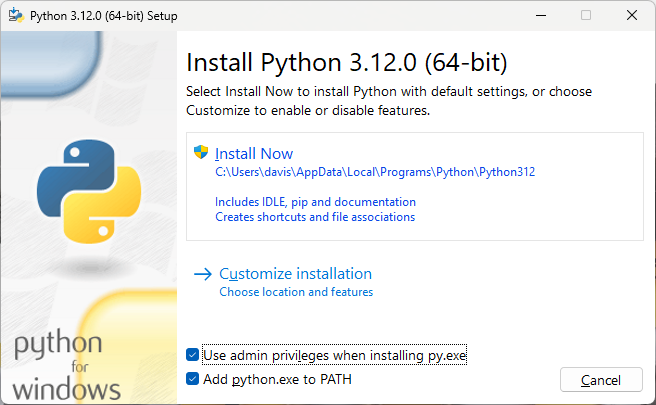
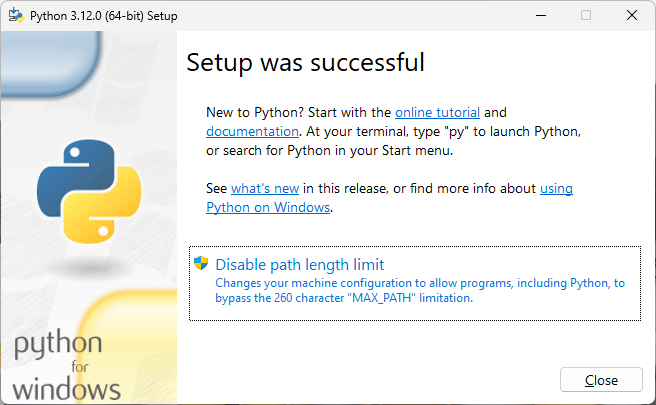
Step 6: Launch the Python installer and proceed with the installation. I like to add python.exe to the PATH so that it makes it easier to find/launch python and also install with admin privileges.
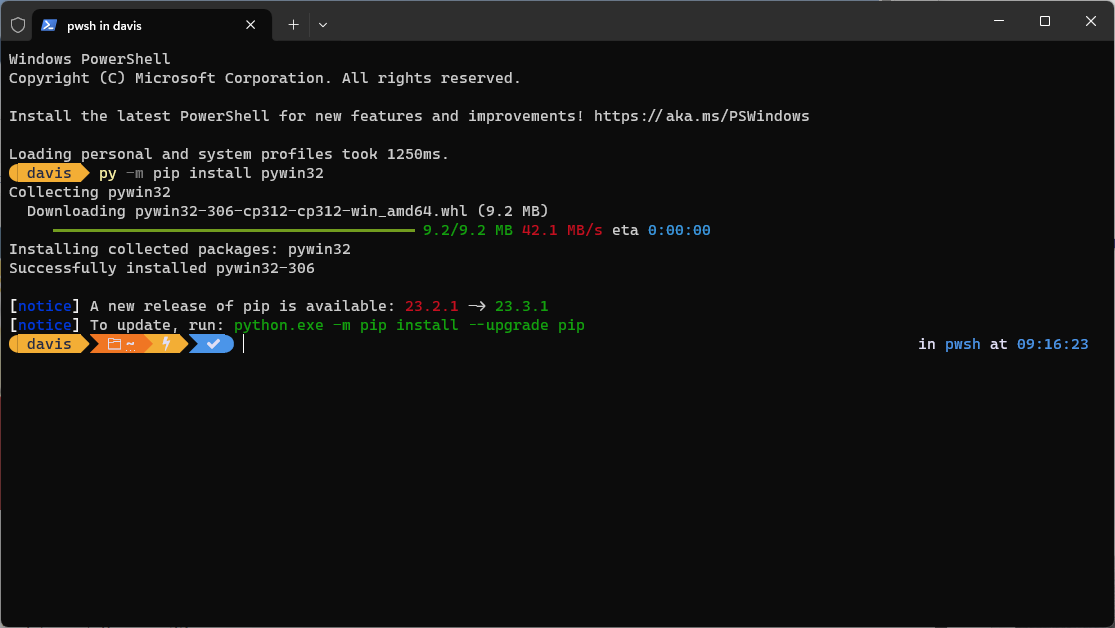
Step 7: Now, open Powershell or CMD with administrator rights and execute the py -m pip install pywin32 command in the terminal to install pywin32.
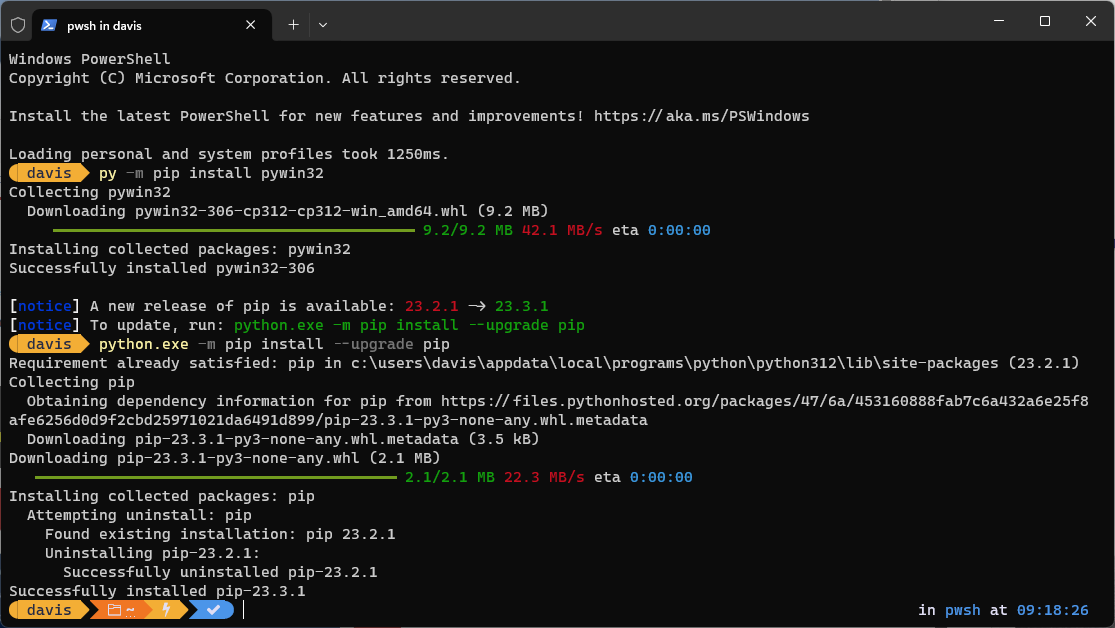
Step 8: When encountering a new Pip update in the terminal, execute the command python.exe -m pip install --upgrade pip to promptly update the package. After upgrading the existing pip tool, close the terminal and restart the system.
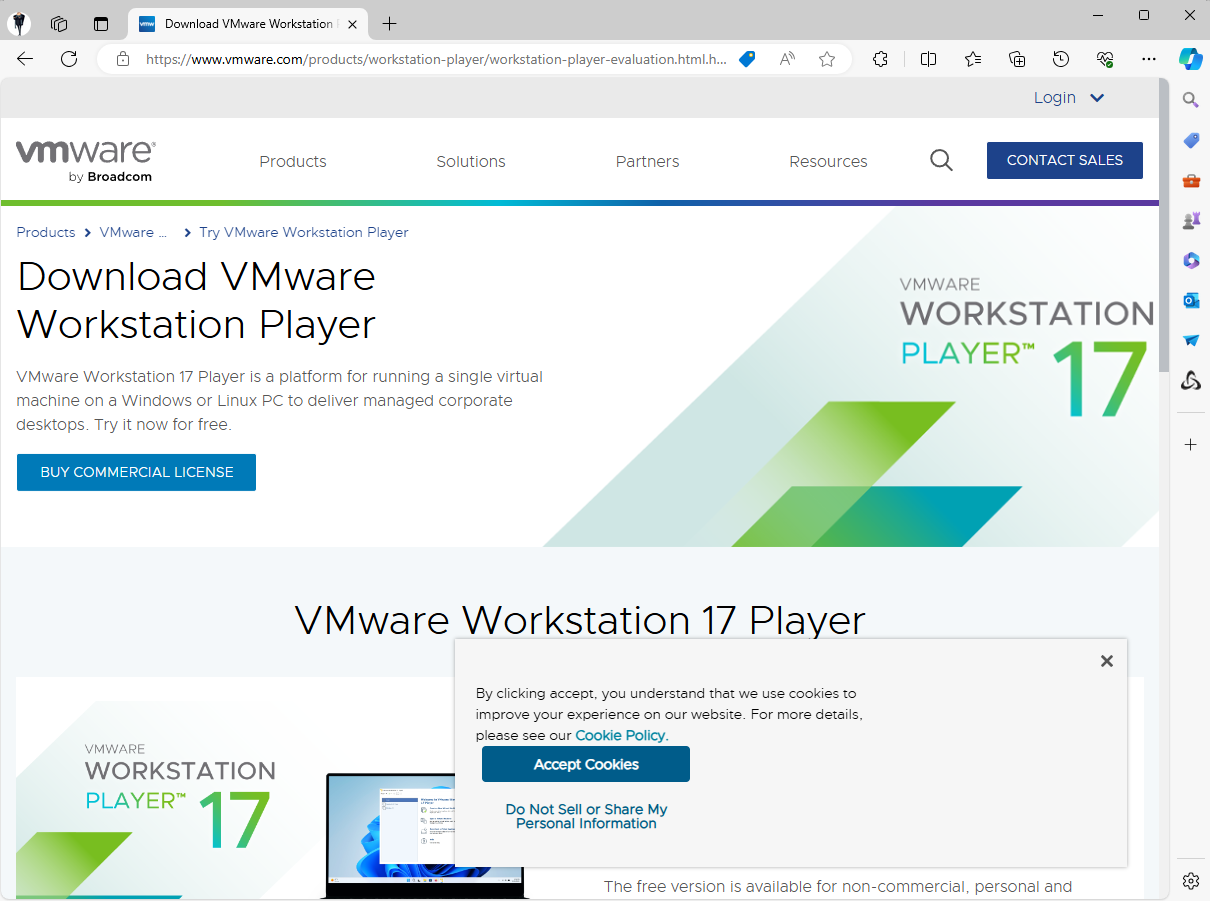
Step 9: In order to install and run the GNS3 VM component, you must install a hypervisor application – a tool that allows you to run virtual machines. We have chosen to use VMWare 17 Workstation Pro, a hypervisor application provided by Oracle that is now made free. At the next screen, we are going to pause the install of GNS3 until we complete the installation of VMWare. Click the link or navigate to https://www.vmware.com/products/workstation-player/workstation-player-evaluation.html.html.html to download the VMWare application.
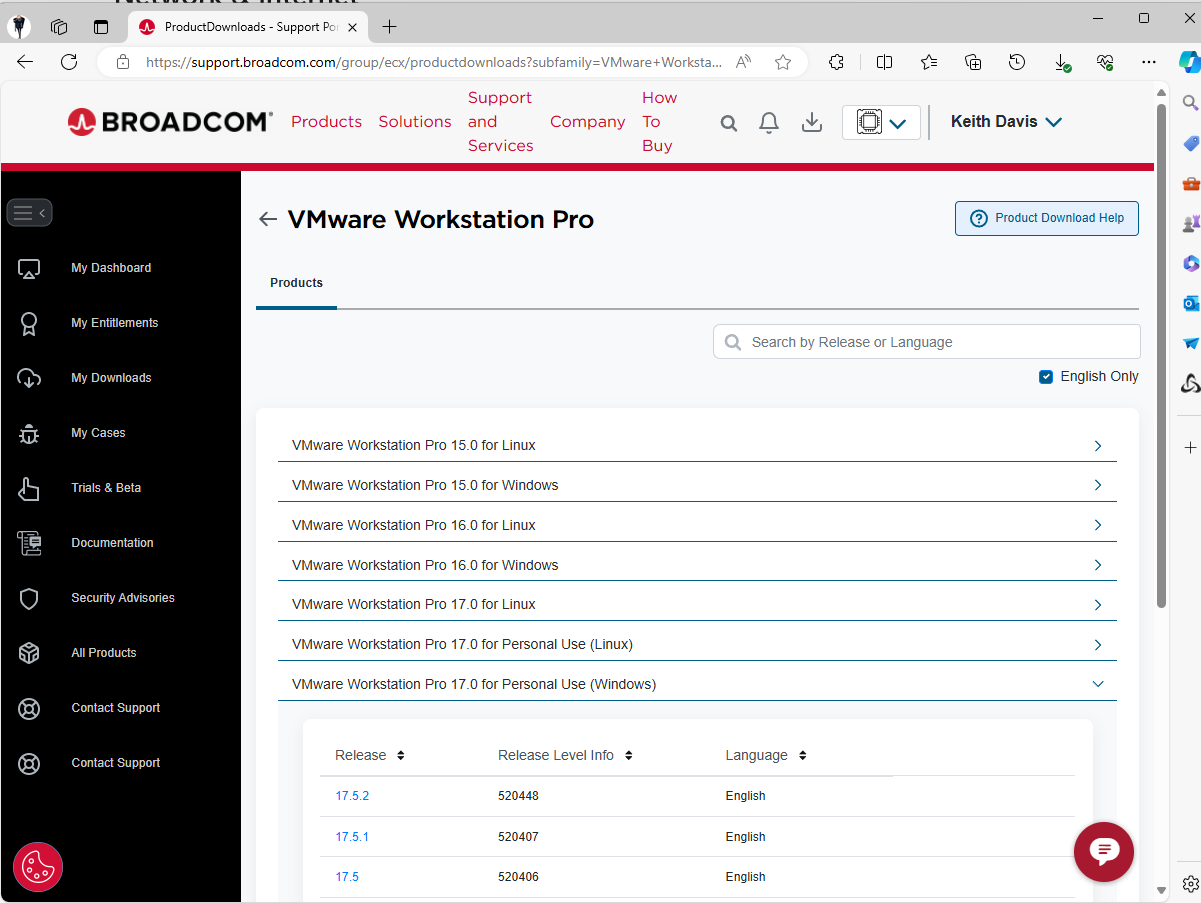
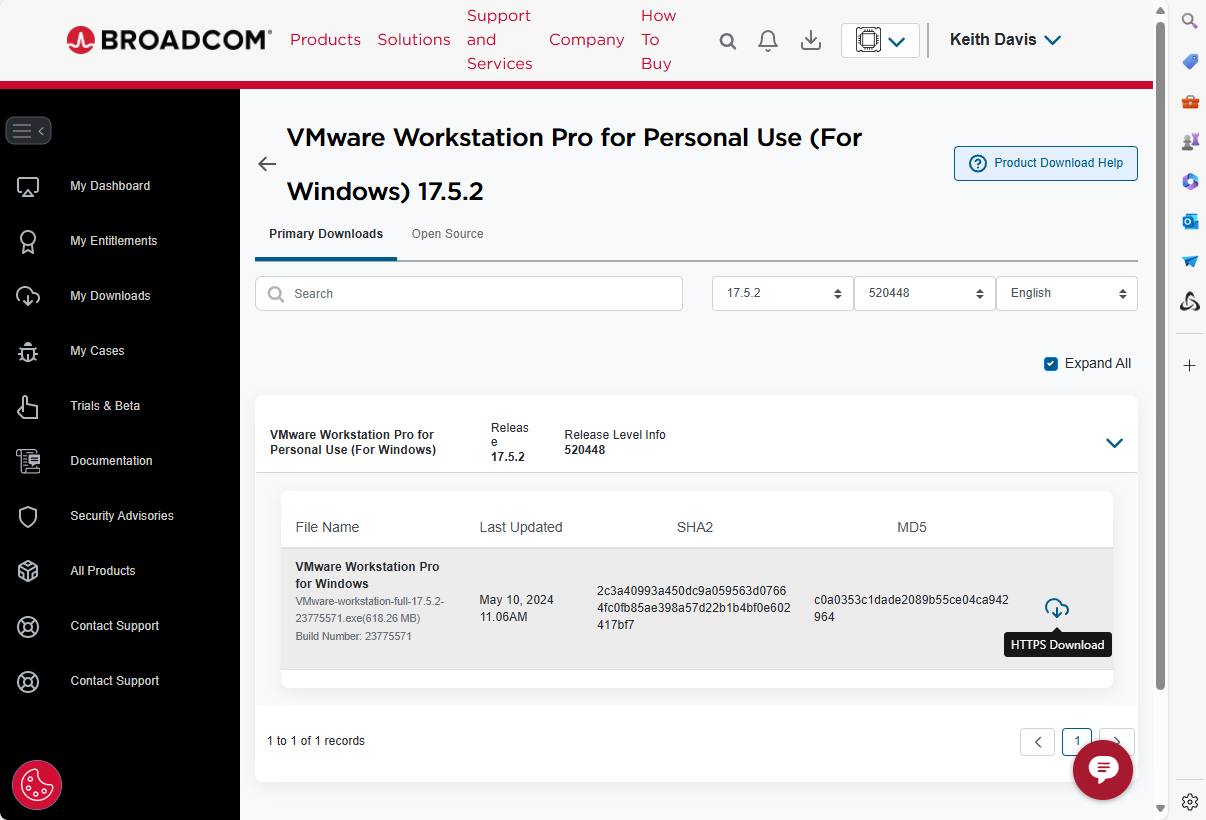
Step 10: Once you are redirected to the download page, select the appropriate version of the software for your machine. We will be installing the Windows version for this demo. You will need to create an account if you do not already have one in order to download and install the software. We are going to log in (Broadcom Inc. (Customer) - Sign In) and navigate to the download page.
ProductDownloads - Support Portal - Broadcom support portal
We are downloading the VMWare Workstation Pro 17.0 for Personal Use (Windows) Version 17.5.2 at the time of this release.
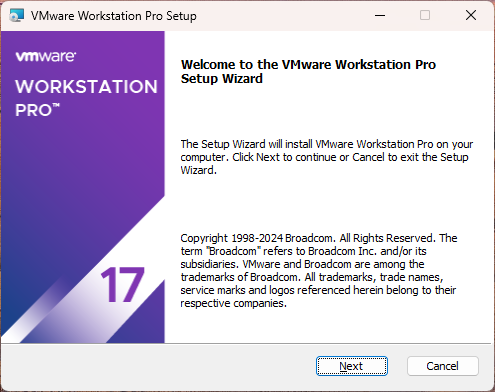
Step 11: Once the application has been downloaded to your machine, launch the installer application. Hit Next to continue.
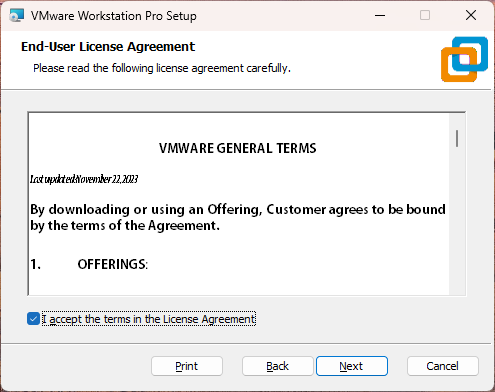
Step 12: Accept the license agreement and hit Next

Step 13: You may come across this screen requesting permission to install virtual Windows features compability option (Windows Hypervisor Platform) to your machine. Allow VMWare to install the Hypervisor Platform (WHP) Automatically by checking the box shown here and hit Next to continue.
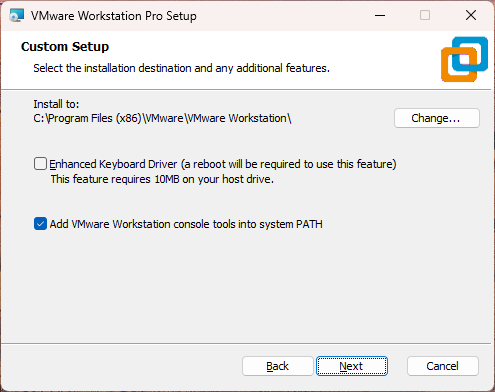
Step 14: Allow VMWare Workstation to install the console tools to your system PATH and hit Next to continue.
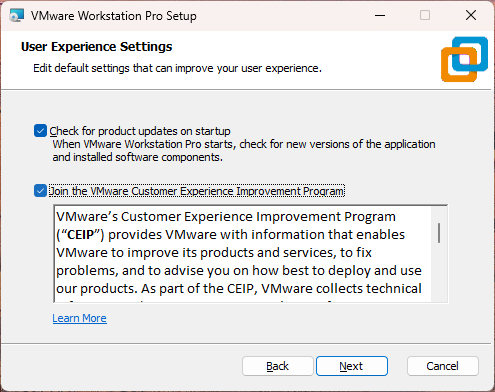
Step 15: On the User Experience Settings screen, keep or disable the options shown here and hit Next to continue.
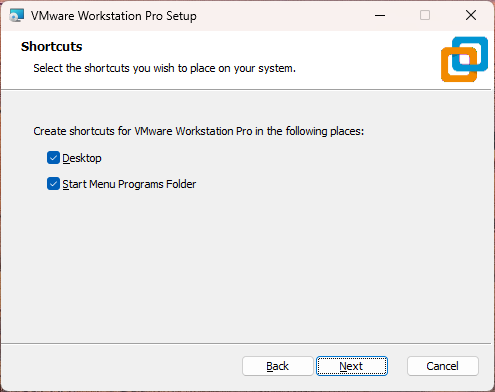
Step 16: Select where you'd like to place your system shortcuts and hit Next to continue.
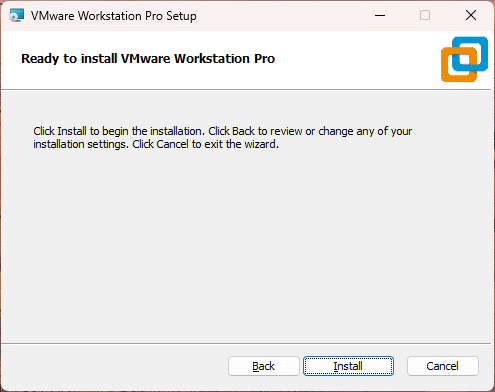
At this point you are ready to install VMWare Workstation Pro on your machine. Hit the install button to start the install process.
Step 17: Once VMWare Workstation Pro has been installed, go back and launch the GNS3 installer. Close any other applications you may have open and click Next to continue.
Step 18: Accept the software license and hit I Agree
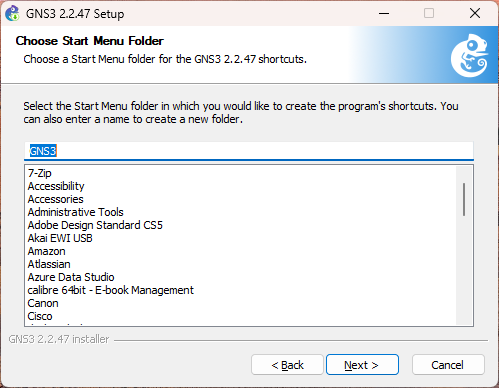
Step 19: Select the start menu folder to create the program's shortcuts. Its best to just accept the defaults and Hit Next
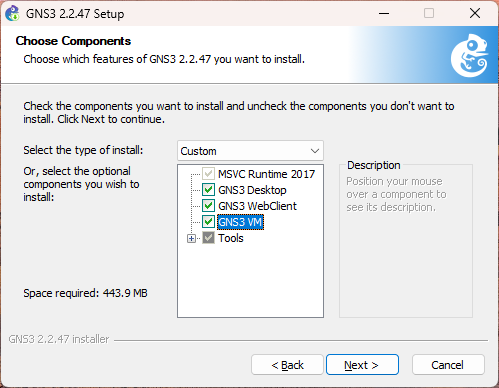
Step 20: You will be asked to choose which components to install. I like to install both the GNS3 WebClient and the GNS3 VM at this point. You will need the GNS3 VM, so its important that you install at least the VM. Hit Next to continue.
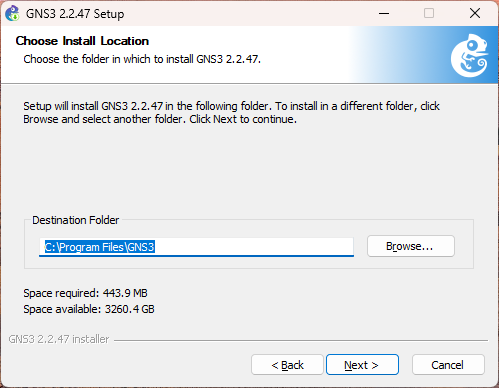
Step 21: Choose the installation location. (Default is usually recommended)
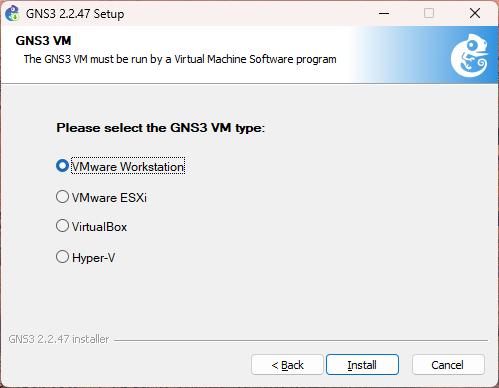
Step 22: Next you will be asked which VM you will be using to run GNS3. Choose VMWare Workstation as your VM and hit Install.
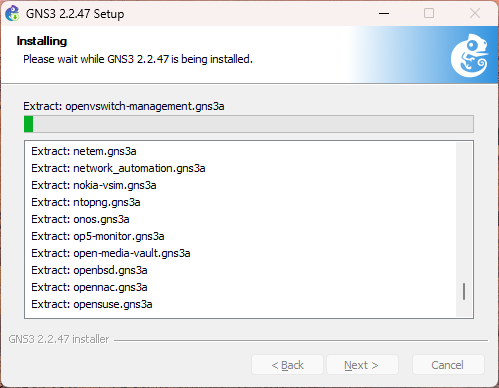
Once you hit install, GNS3 will be begin downloading and installing the necessary tools and files along with the GNS3 virtual machine.
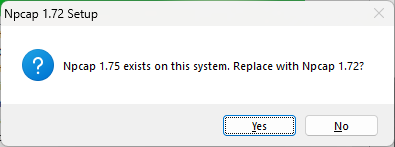
Step 23: You will be required to install a few additional tools, the first of which is Npcap. Like us, you may have this tool already installed on your machine, or you may have a newer version of this tool installed on your machine. (The installer unfortuntely installs an older version of this tool and I recommend either updating the tool afterwards, or installing a newer version of the Npcap tool from here (Npcap: Windows Packet Capture Library & Driver). Our recommendation is to pre-install the Npcap library and driver. Our test machine has a newer version of the tool installed, and so we answered this question with a No, do not install the older version of the software.
Step 24: The system will then install the necessary tools to complete the installation of GNS3 onto your workstation. Once completed, we will need one more piece of software, namely the RouterOS image for GNS3 in order to stand up a Mikrotik virtual device. We will discuss installing and configuring the RouterOS image in the next segment of this installation.
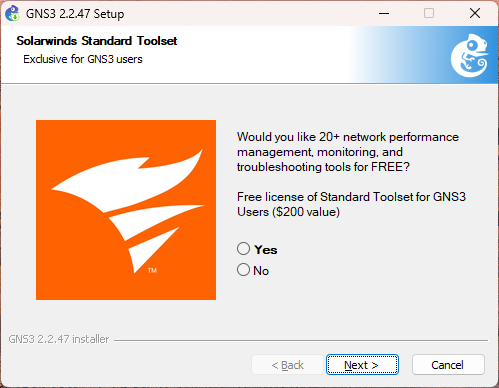
You can choose to install optional tools post install if you'd like. I choose not to install.
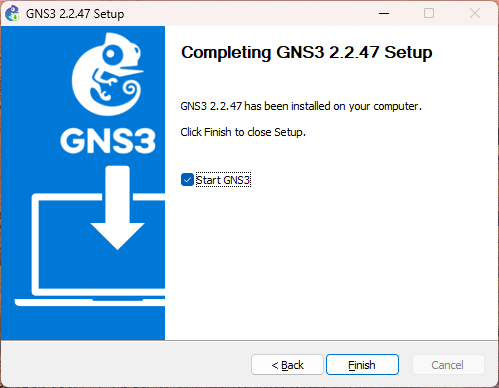
Step 25: Installation is finished. Click Finish to launch GNS3.
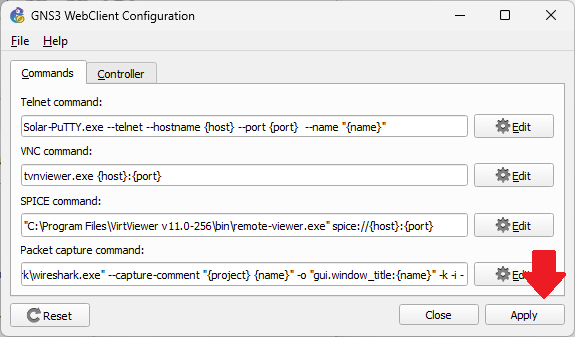
The first time you launch GNS3 you will be presented with the GNS3 WebClient configuration. Just hit the Apply button and then close the window.
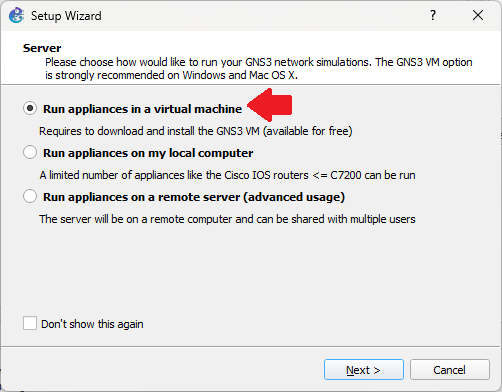
Step 26: Upon launching GNS3 you will be presented wit the Setup Wizard. We are going to run our devices in a virtual machine under VMWare Workstation so make sure Run appliances in a virtual machine is checked and then click Next to continue.
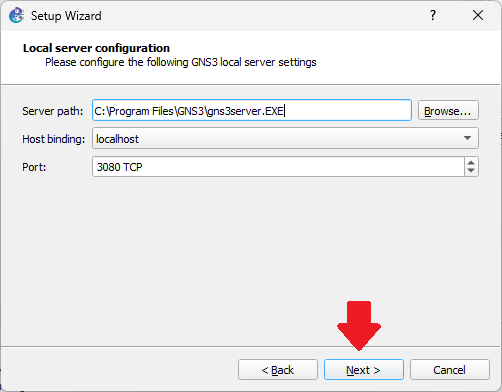
Step 27: Again, hit Next to accept the defaults.
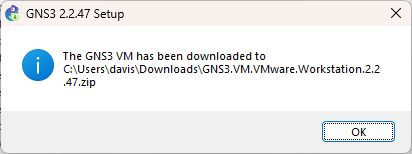
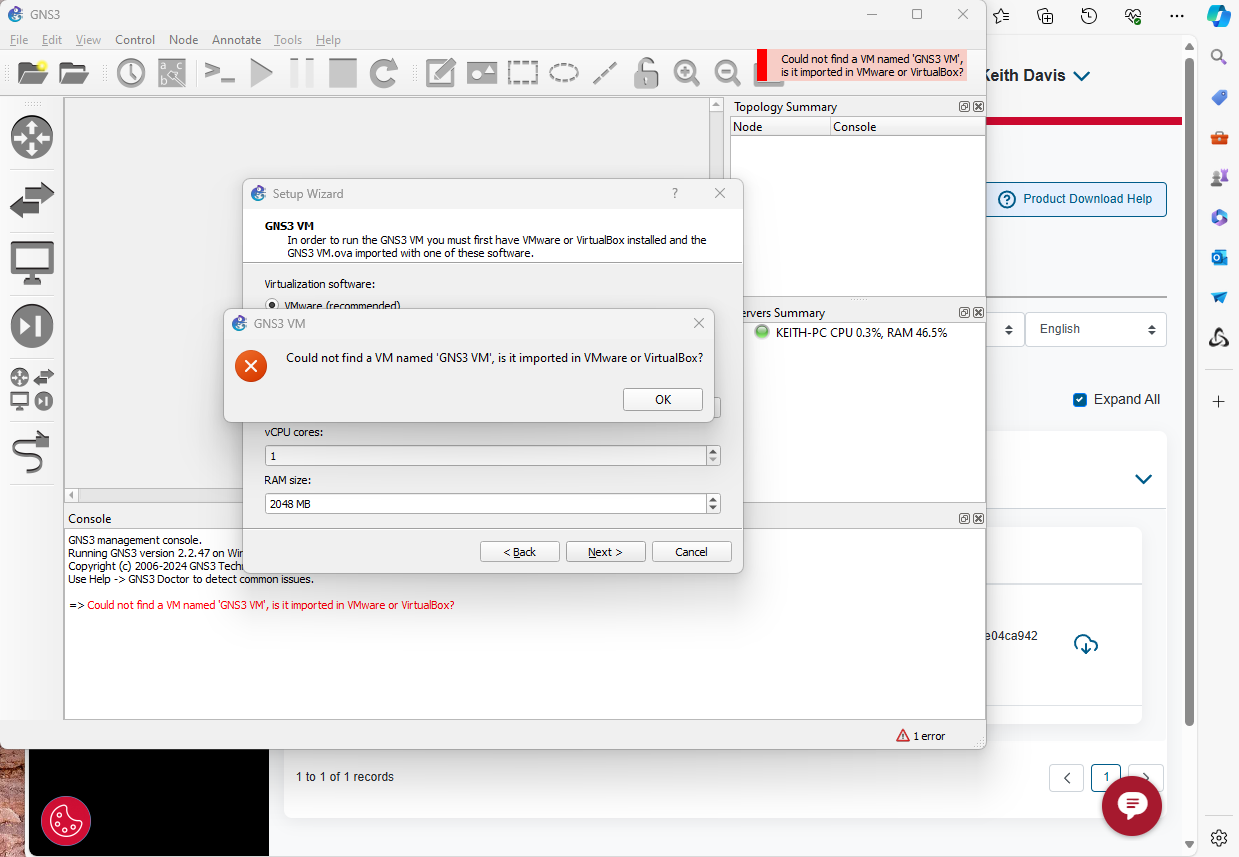
Step 29: You will see the following message in GNS3. This is because we need to install the GNS3 VMWare virtual image that was downloaded as part of the application installation process. Click OK. At this point, we are going to navigate back to VMWare Workstation and install the virtual image.
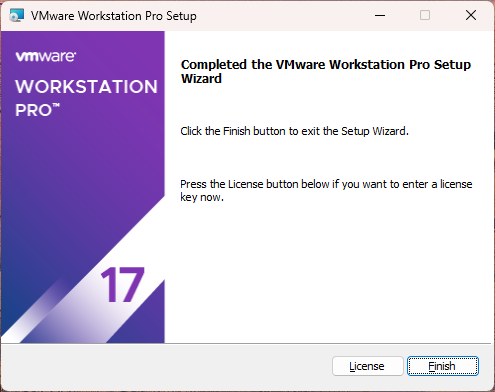
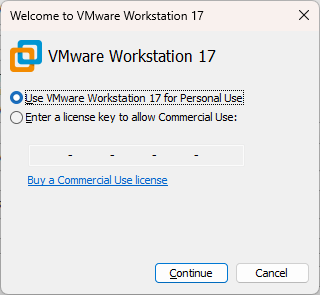
Step 30: The first time you launch VMWare Workstation, it may ask you for a license file. VMWare is provided free for personal and home use, so we are going to say Use VMWare Workstation 17 for Personal Use and hit Continue
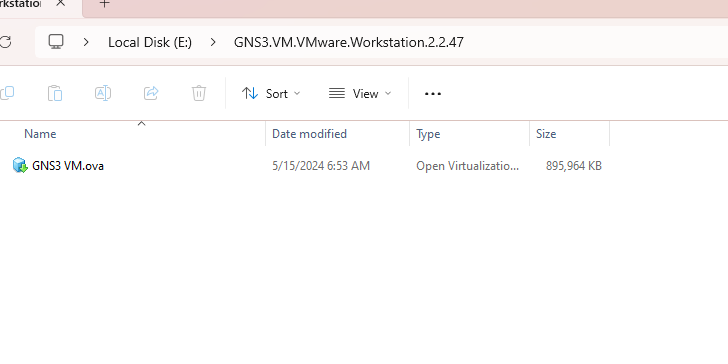
Step 31: The next step is to import the GNS3 virtual machine that was downloaded during the install. You were asked to take note of the download location of the VM file. This is the time where you will unzip and import that file into VMWare. Locate the file on your computer, and unzip it. Once you have unzipped the file, you will be left with a single virtual appliance image (*.ova).
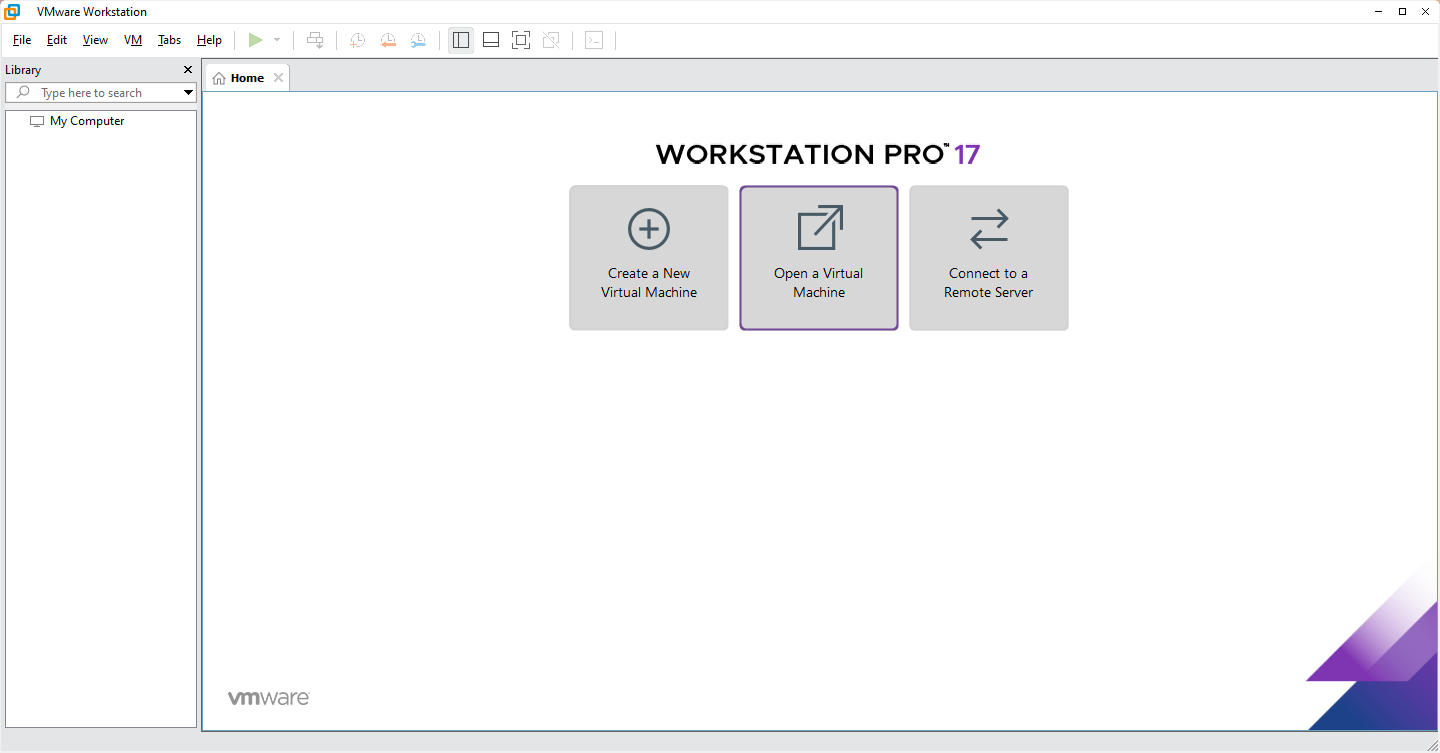
Step 32: In VMWare click the "Open a Virtual Machine" button shown below and navigate to the *.ova file that you just extracted and select the file.
Step 33: Next, provide a name for this virtual machine and a locate to create the machine and hit the Import button once you have provided this information.
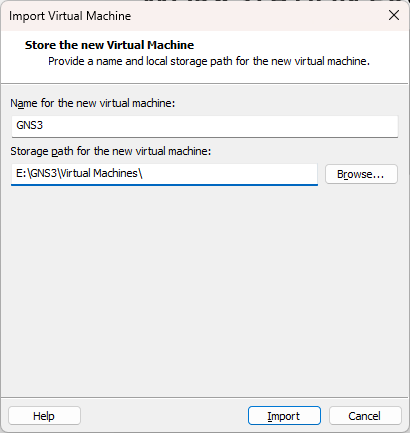
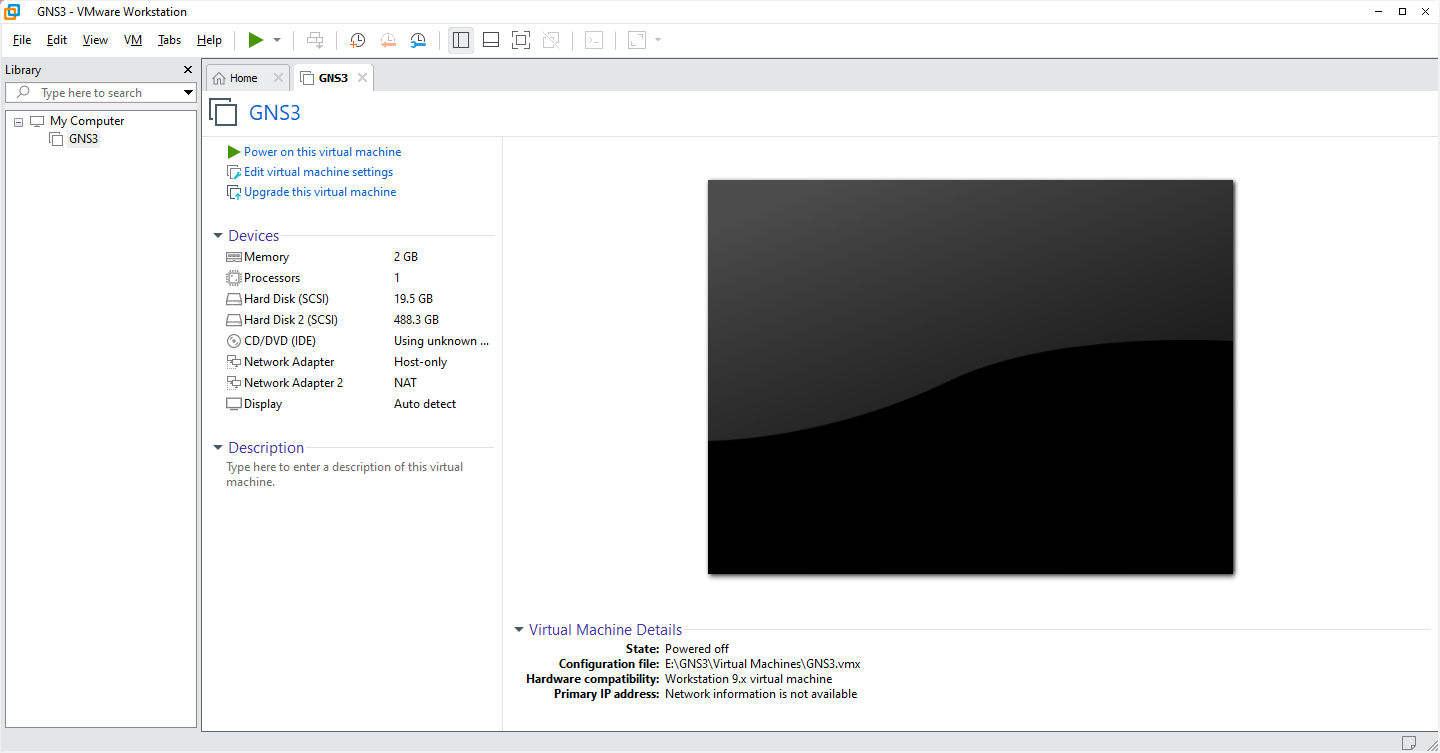
The new appliance will be imported with the following settings. Your settings may not necessarily look the same as the ones shown depending on what hardware you have installed.
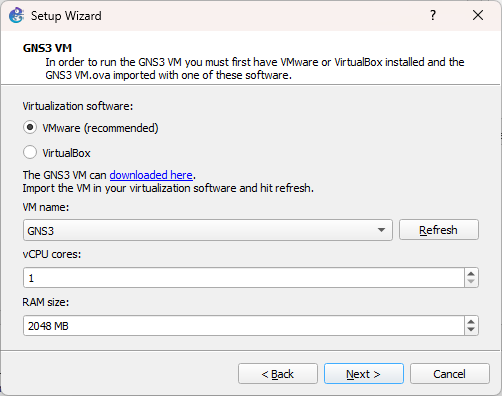
Step 31: Go back into GNS3 and hit the Refresh button. You should now see your imported GNS3 VM listed as shown. Hit Next to continue.
When you hit Next, the Virtual Machine will start. Click Finish to close the GNS3 setup wizard.
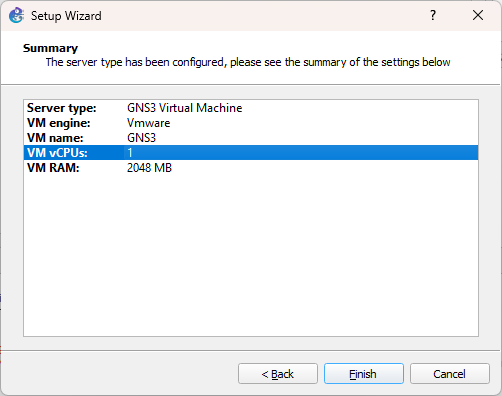
You should see in the Servers summary your GNS3 VM and Your Desktop running. If both are green, you have successfully installed GNS3 on your desktop. It is time now to install the Mikrotik RouterOS CHR in GNS3 so that we can create our virtualized devices.