Why should I consider MikroTik for my next home network?
Here's why MikroTik routers might be a great choice for home networks:
- Customizability: MikroTik routers offer lots of options to tweak and adjust settings. While this might sound complex, it means you can fine-tune your network to work exactly how you want it. For example, you can set up different types of connections, manage which devices get more bandwidth, or secure your network in more advanced ways.
- Advanced Features: These routers come with features that you usually find in more expensive business equipment. This includes things like better control over internet traffic, the ability to set up secure remote connections, and strong protection against online threats. These features can make your home network more reliable and secure.
- Cost-Effective: MikroTik routers are often more affordable compared to other brands that offer similar features. So, you get a lot of powerful tools without spending a lot of money.
- Strong Performance: Even if you have a lot of devices connected to your network or use high-bandwidth applications like streaming and gaming, MikroTik routers can handle it efficiently, helping to keep everything running smoothly.
- Support and Learning: There's a lot of help available online if you run into issues or want to learn more about how to use your router. MikroTik has a big community of users and plenty of guides to help you out.
Choosing the right MikroTik router for your home network depends on several factors, including your network size, performance needs, and budget. Here are some MikroTik router models to consider based on different scenarios:
1. Basic Home Network:
- MikroTik hAP lite (RB941-2nD)
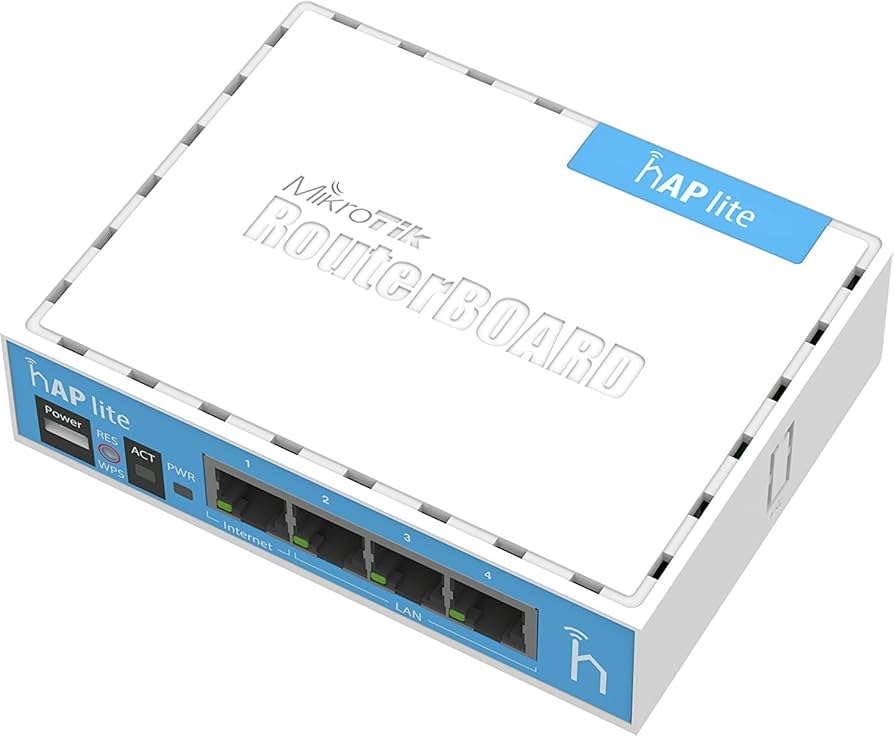
- Features: Compact, affordable, dual-band Wi-Fi, 5 ports.
- Best for: Small to medium homes with basic internet needs and a few connected devices.
- Pros: Easy to set up with Quick Set, cost-effective.
2. Mid-Range Home Network:
- MikroTik hAP ac^3 (RBD53iG-5HacD2HnD)
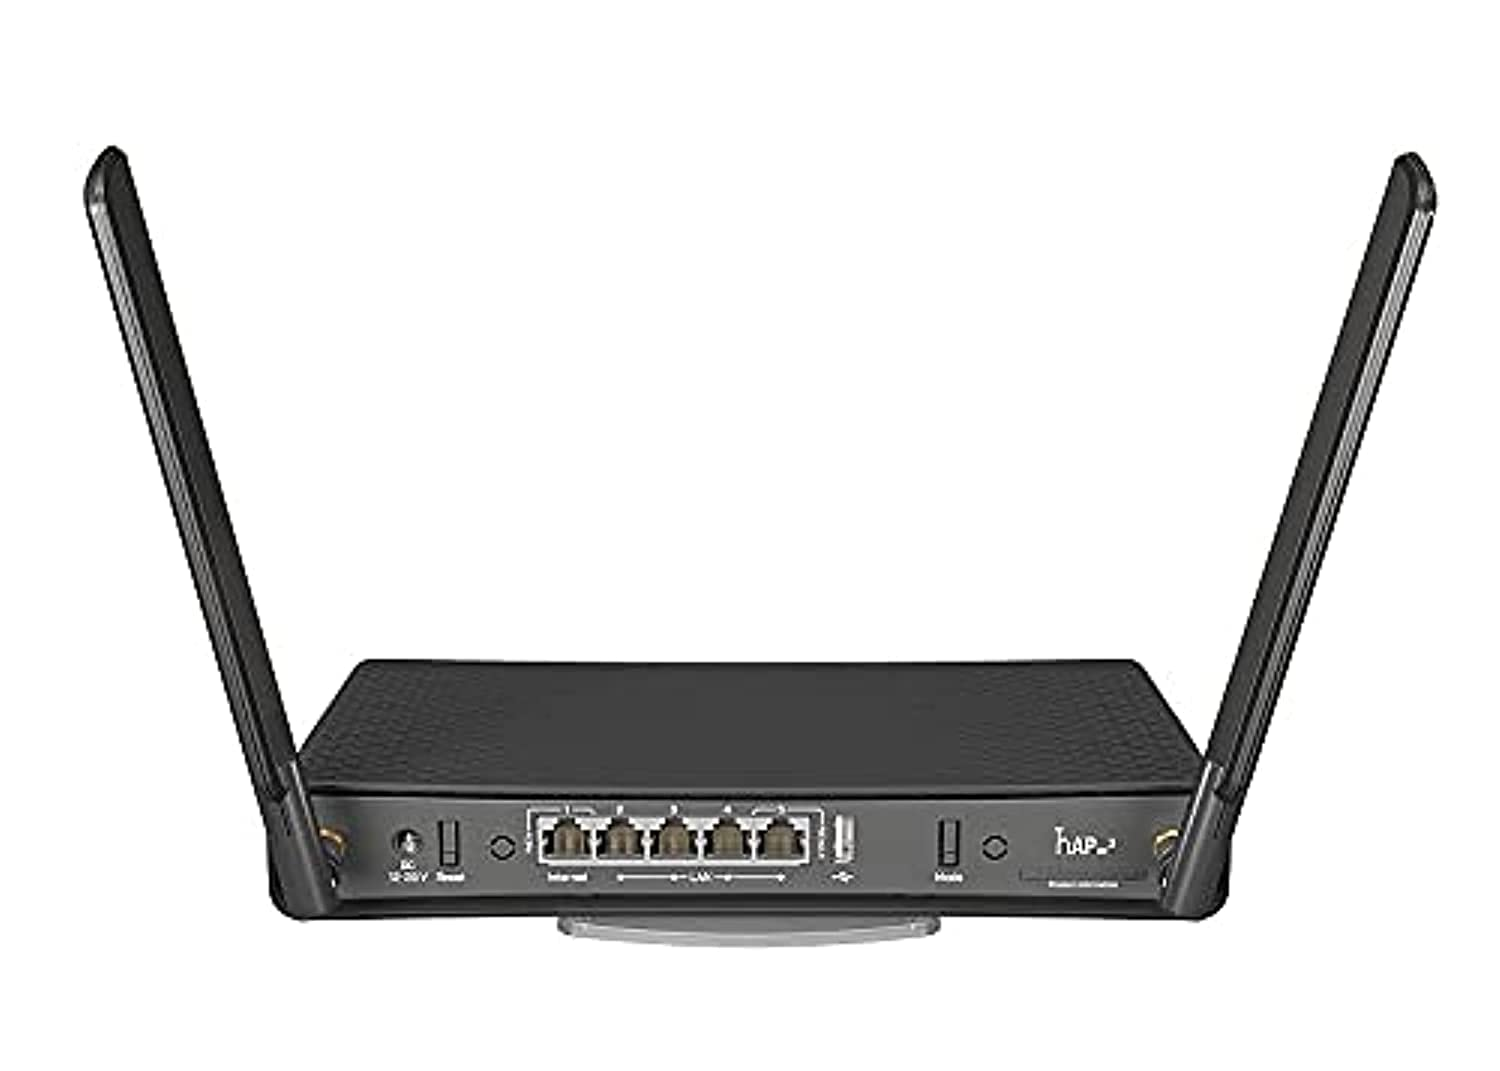
- Features: Dual-band Wi-Fi, 5 Gigabit Ethernet ports, 1 USB port, improved performance and range.
- Best for: Medium to large homes with more devices and higher bandwidth requirements.
- Pros: Better Wi-Fi performance, more ports for wired connections, good balance of features and price.
3. High Performance and Advanced Features:
- MikroTik hAP ax³ (RB550GxS+5HPacQ²)
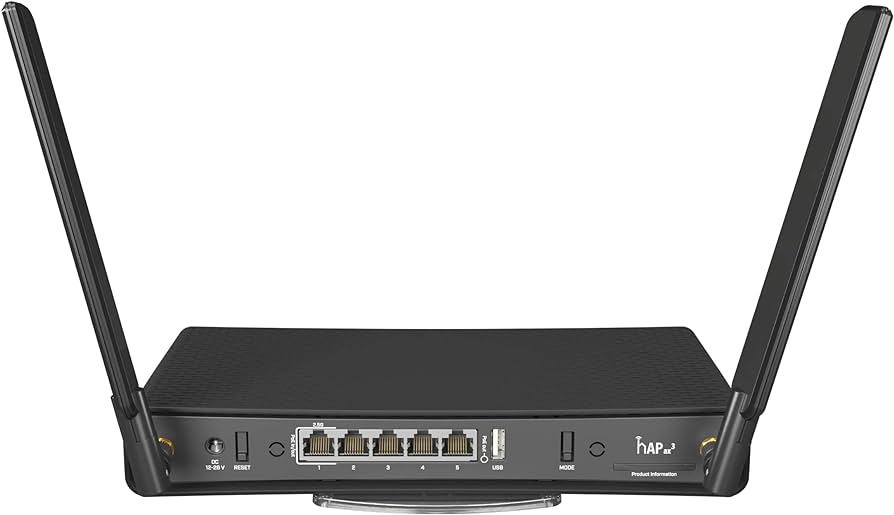
- Features: Wi-Fi 6 (AX), 5 Gigabit Ethernet ports, 1 SFP port, high-performance CPU.
- Best for: Larger homes with many devices, high-speed internet, and advanced networking needs like streaming and gaming.
- Pros: Latest Wi-Fi technology, excellent performance, future-proof.
4. Power Users and Advanced Configurations:
- MikroTik RouterBOARD RB4011iGS+RM
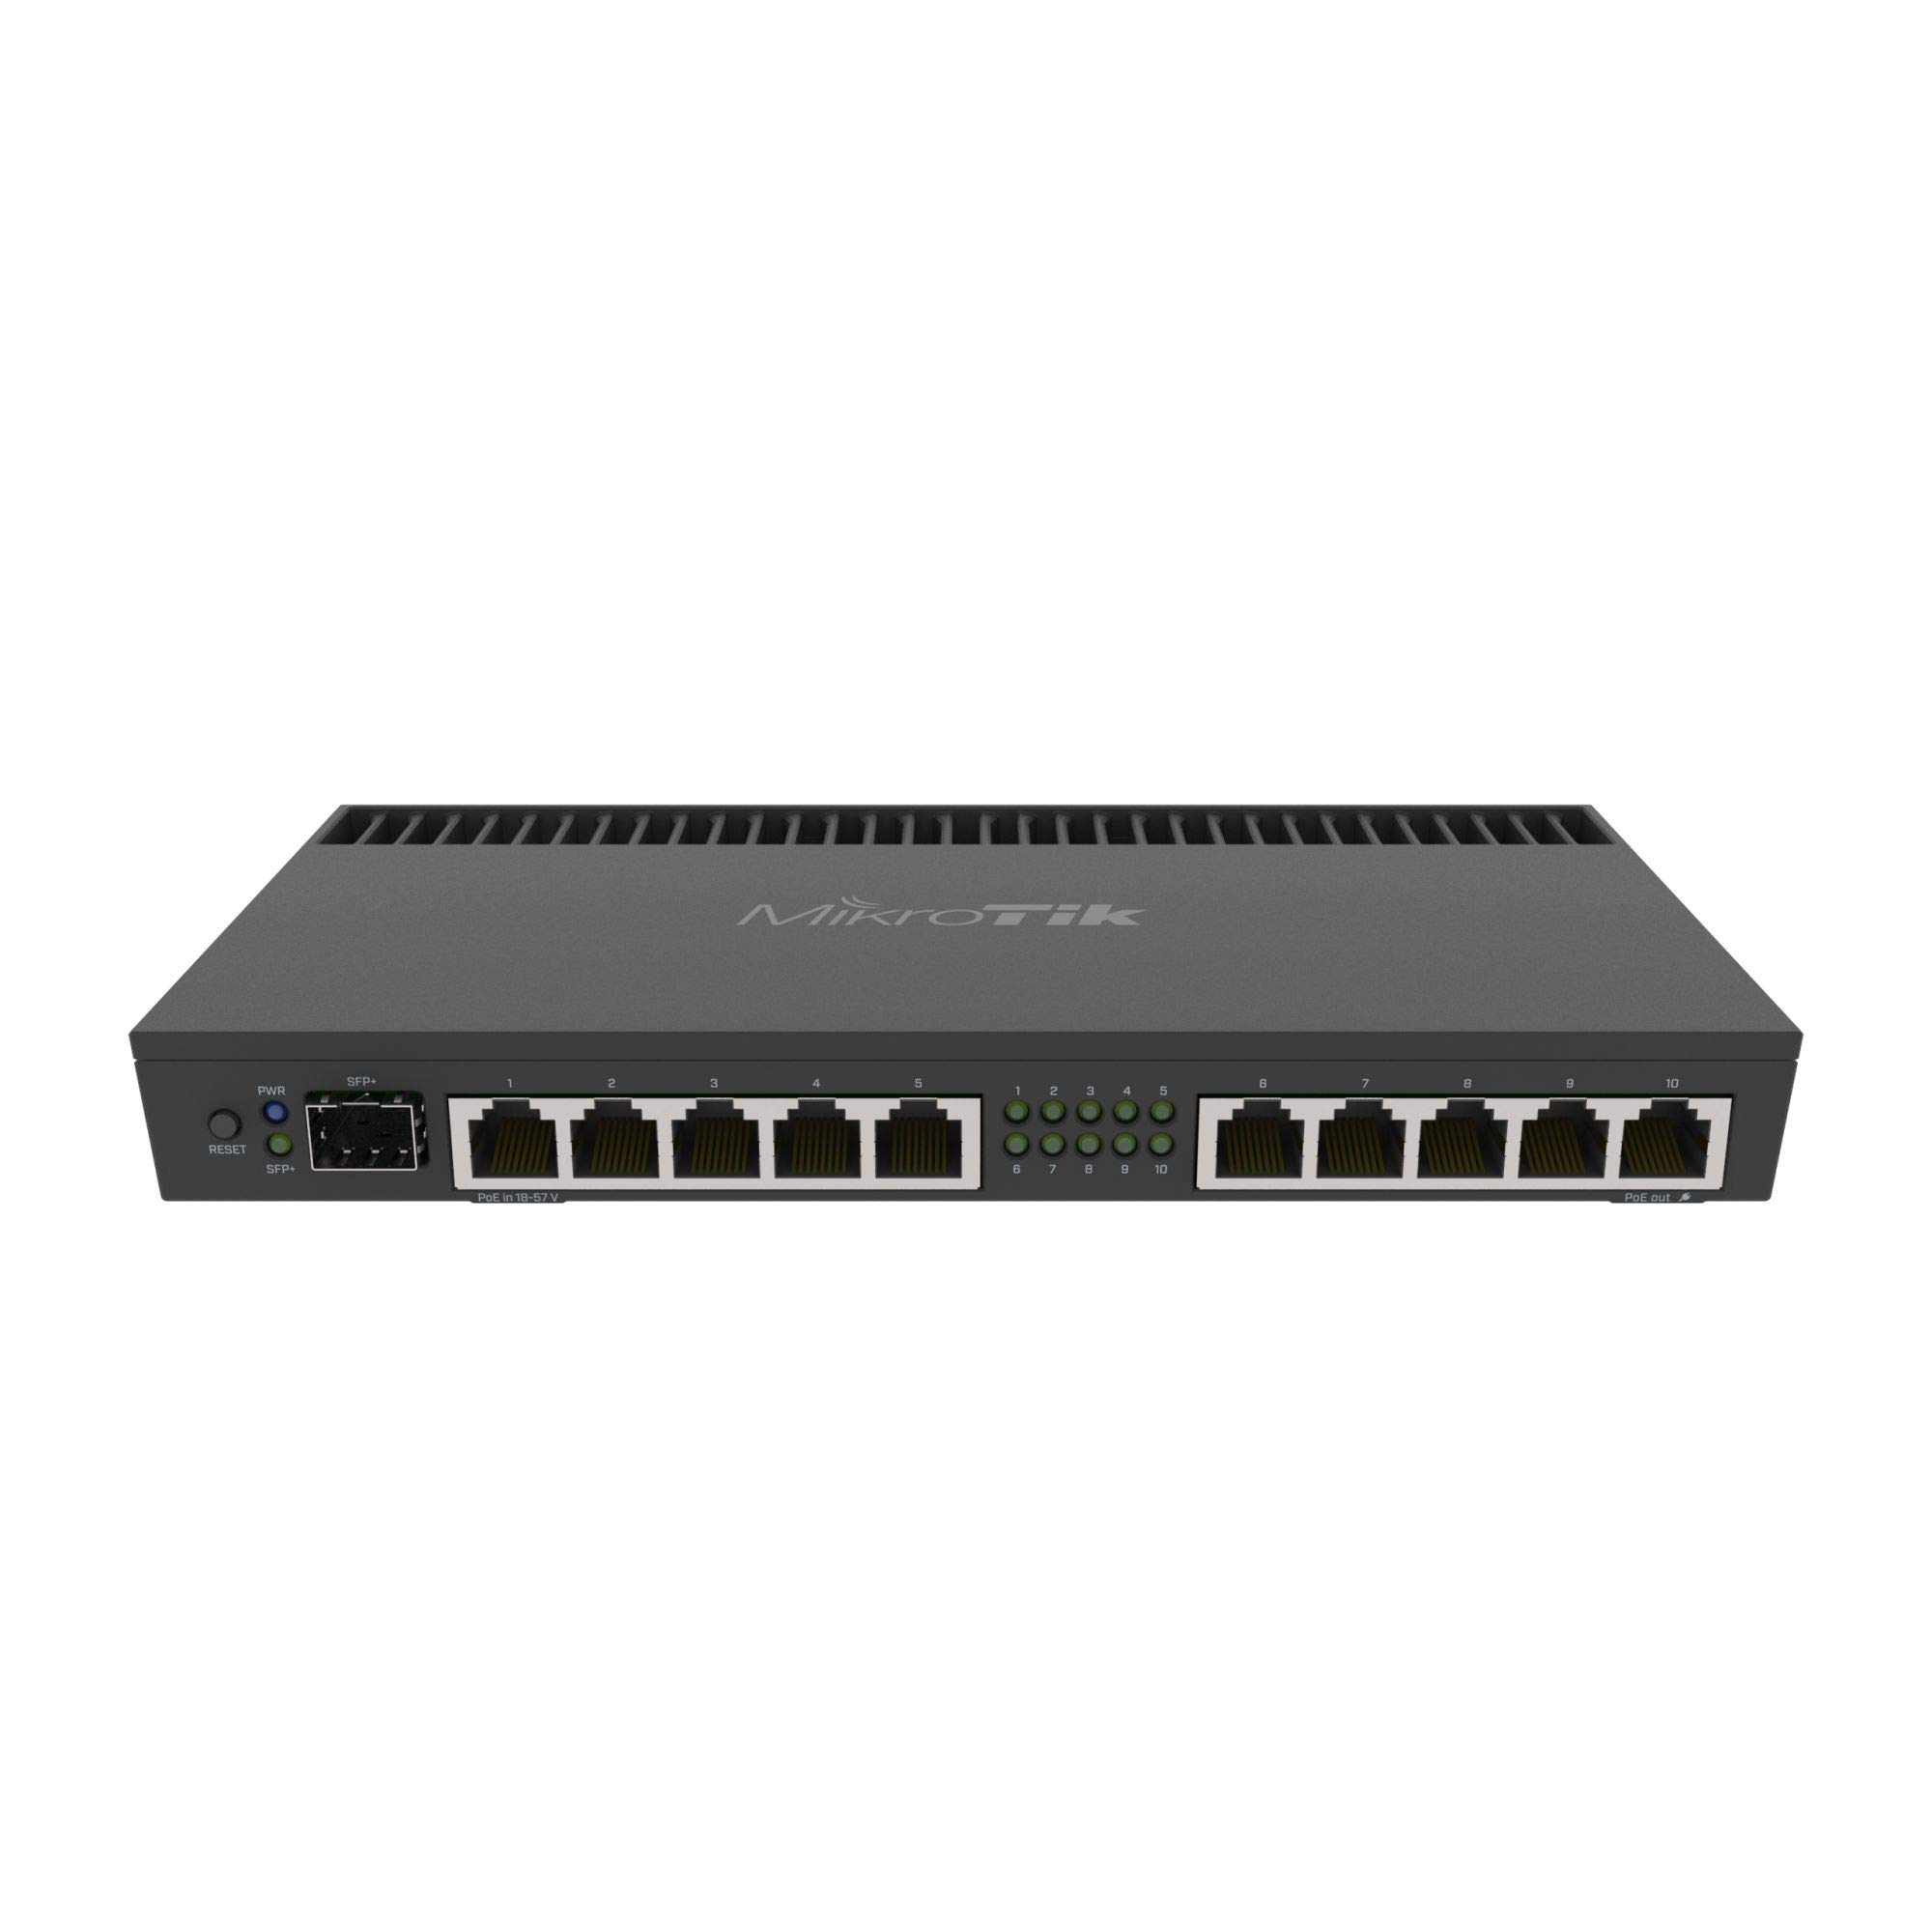
- Features: 10 Gigabit Ethernet ports, 1 SFP+ port, 1 USB port, powerful CPU.
- Best for: Users with very high performance needs, advanced network setups, or home offices requiring extensive configurations.
- Pros: Extremely high performance, lots of ports, suitable for complex setups.
5. Budget-Friendly with Good Features:
- MikroTik hAP (RB750Gr3)
- Features: 5 Gigabit Ethernet ports, decent performance, no built-in Wi-Fi.
- Best for: Users who need a solid, budget-friendly router with good routing capabilities but don't require Wi-Fi from the router itself (ideal if you already have an access point or prefer to use separate equipment for Wi-Fi).
- Pros: Affordable, reliable, good routing performance.
Considerations:
- Wi-Fi Requirements: If you need the latest Wi-Fi standards and higher speeds, consider models like the hAP ax³.
- Number of Devices: Ensure the router can handle the number of devices you have. Higher-end models will manage more devices more efficiently.
- Budget: Determine how much you are willing to spend and choose a model that fits within that range while meeting your needs.
For most home users, the hAP ac^3 strikes a good balance between cost and features, making it a versatile choice. For those seeking future-proofing and cutting-edge performance, the hAP ax³ is an excellent option.
In short, MikroTik routers give you powerful tools to manage and protect your home network without needing to spend a lot. They might take a bit of learning to use effectively, but they can make your network run better and give you more control over how it works.
Setting up a Home Router using Quick Set
Configuring MikroTik's Quick Set for a home router is a straightforward process. Here's a step-by-step guide:
- Connect to the Router:
- Connect your computer to the MikroTik router using an Ethernet cable. Connect port 1 on your router to the ethernet cable attached to your ISP. Connect port 2 on your router to your PC.
- Open a web browser and type in the default IP address of the MikroTik router, which is usually
192.168.88.1. You can also use WinBox if you prefer a desktop application.
- Login:
- Enter the default login credentials. For MikroTik, the default username is usually
adminand the password field is left blank.
- Enter the default login credentials. For MikroTik, the default username is usually
- Access Quick Set:
- Once logged in, you will be directed to the MikroTik RouterOS interface. Find and click on the “Quick Set” tab in the left-hand menu.
- Select Your Mode:
- In the Quick Set menu, choose “Home AP Dual” from the available options. This mode configures the router to act as an access point with dual-band (2.4 GHz and 5 GHz) support.
- Configure Basic Settings:
- Network Name: Enter the SSID (network name) for both the 2.4 GHz and 5 GHz wireless networks. You can use the same SSID for both bands or different ones if you prefer.
- Frequency/Band: Usually the default ones are sufficient but if you do notice that you have issues with Wi-Fi, these can be changed in order to improve performance.
- Country: the "Country" field is used to set the regulatory domain for the wireless network. This field is important for several reasons:
- Compliance with Local Regulations: Different countries have different regulations regarding wireless frequencies and power levels. By setting the correct country, the router automatically configures its wireless settings to comply with local regulations, ensuring you don't inadvertently use frequencies or power levels that are illegal or cause interference.
- Channel Availability: The available wireless channels may vary depending on the country. Setting the correct country ensures that the router uses channels that are permitted in your location.
- Transmit Power Limits: The maximum allowable transmit power for wireless devices can differ by country. Setting the country field allows the router to adjust its transmit power settings to comply with local regulations.
- Channel Width and Frequency Bands: Some countries have restrictions on the use of certain frequency bands or channel widths. Configuring the country setting ensures that the router operates within these constraints.
If you are in the United States, for example, you should select united states 3, as this profile is configured to meet more recent or specific regulatory updates or advanced compliance needs that go beyond the basic "United States" profile.
- WiFi Password: Set a password for your wireless network to ensure it's secure.
- Internet: Configure the internet settings based on your ISP. Typically, you will select “DHCP” if your ISP provides IP addresses dynamically, or enter the static IP settings if your ISP has provided a fixed IP address.
- Local Network (IP Address and Netmask): Set the IP address for the router's LAN interface if needed. By default, it’s set to
192.168.88.1, but you can change this if required. Set the Netmask to 255.255.255.0 (/24). This will allow you to have up to 255 devices on this network. - DHCP Server: Enable DHCP server. This will allow clients to automatically receive an IP address when they connect instead of having to manually assign the client an IP address. If you are using the IP address 192.168.88.1 for your router, set your DHCP Server Range to 192.168.88.20-192.168.88.255. (I usually advise leaving 1-20 available for static devices such as printers and things where the IP address shouldn't change)
- NAT (Network Address Translation): Enable NAT. NAT allows multiple devices on a local network (using private IP addresses) to share a single public IP address for accessing the internet. NAT also helps to obscure internal IP addresses from the outside world. This provides a layer of security by preventing external entities from easily accessing devices on the internal network.
- Apply Settings:
- Once you've filled in the necessary information, click the “Apply Configuration” or similar button to save and apply the settings.
- Reboot if Necessary:
- Some settings might require a reboot. If prompted, restart the router.
- Test Your Connection:
- After the router reboots, connect a device to the new Wi-Fi network using the SSID and password you set up. Check that you have internet connectivity.