Lab 2: Basic Setup Functions

In this lab, we are going to create a new virtual router, connect to it, and perform some basic setup functions.

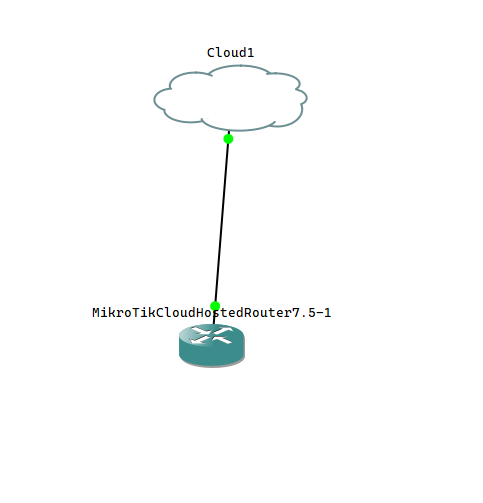
Step 1: In GNS3, create a new project and setup a new network topology as follows.  You may also download the project file here and import it into GNS3.

Initial Project Setup

Step 2: Open Winbox and open the Neighbors tab. Within Neighbors, you should see our new MikroTik router listed. Log in to the router using login admin / no password as shown.

Connect to router using WinBox.

Step 3: Upon first login, you will be asked to change the password of the router. Go ahead and do so now.

?
In a real-use environment, we recommend setting a very secure password on your router. This will prevent someone from being able to remote into your router and changing your configuration or worse, infiltrating your network! We strongly recommend the use of a password manager when it comes to setting and maintaining your passwords. This helps to ensure that your password isn't easily guessable and uses best practices to ensure your password meets current security recommendations. Most password managers will also allow you to store your password in a secure vault in case you happen to forget or don't want to have to remember the password!, Should you forget the password and don't have the password saved anywhere, your only course of action in that case would then be to reset the router. We never recommend writing your password down somewhere – use a password manager instead. 
Changing the password of the router.

Complete the following sections.