Lab 1.3: Connecting WinBox to GNS3 VM
In this lab, we are going to download the MikroTik WinBox configuration tool and use it connect and configure our GNS3 MikroTik CHR appliance(s).
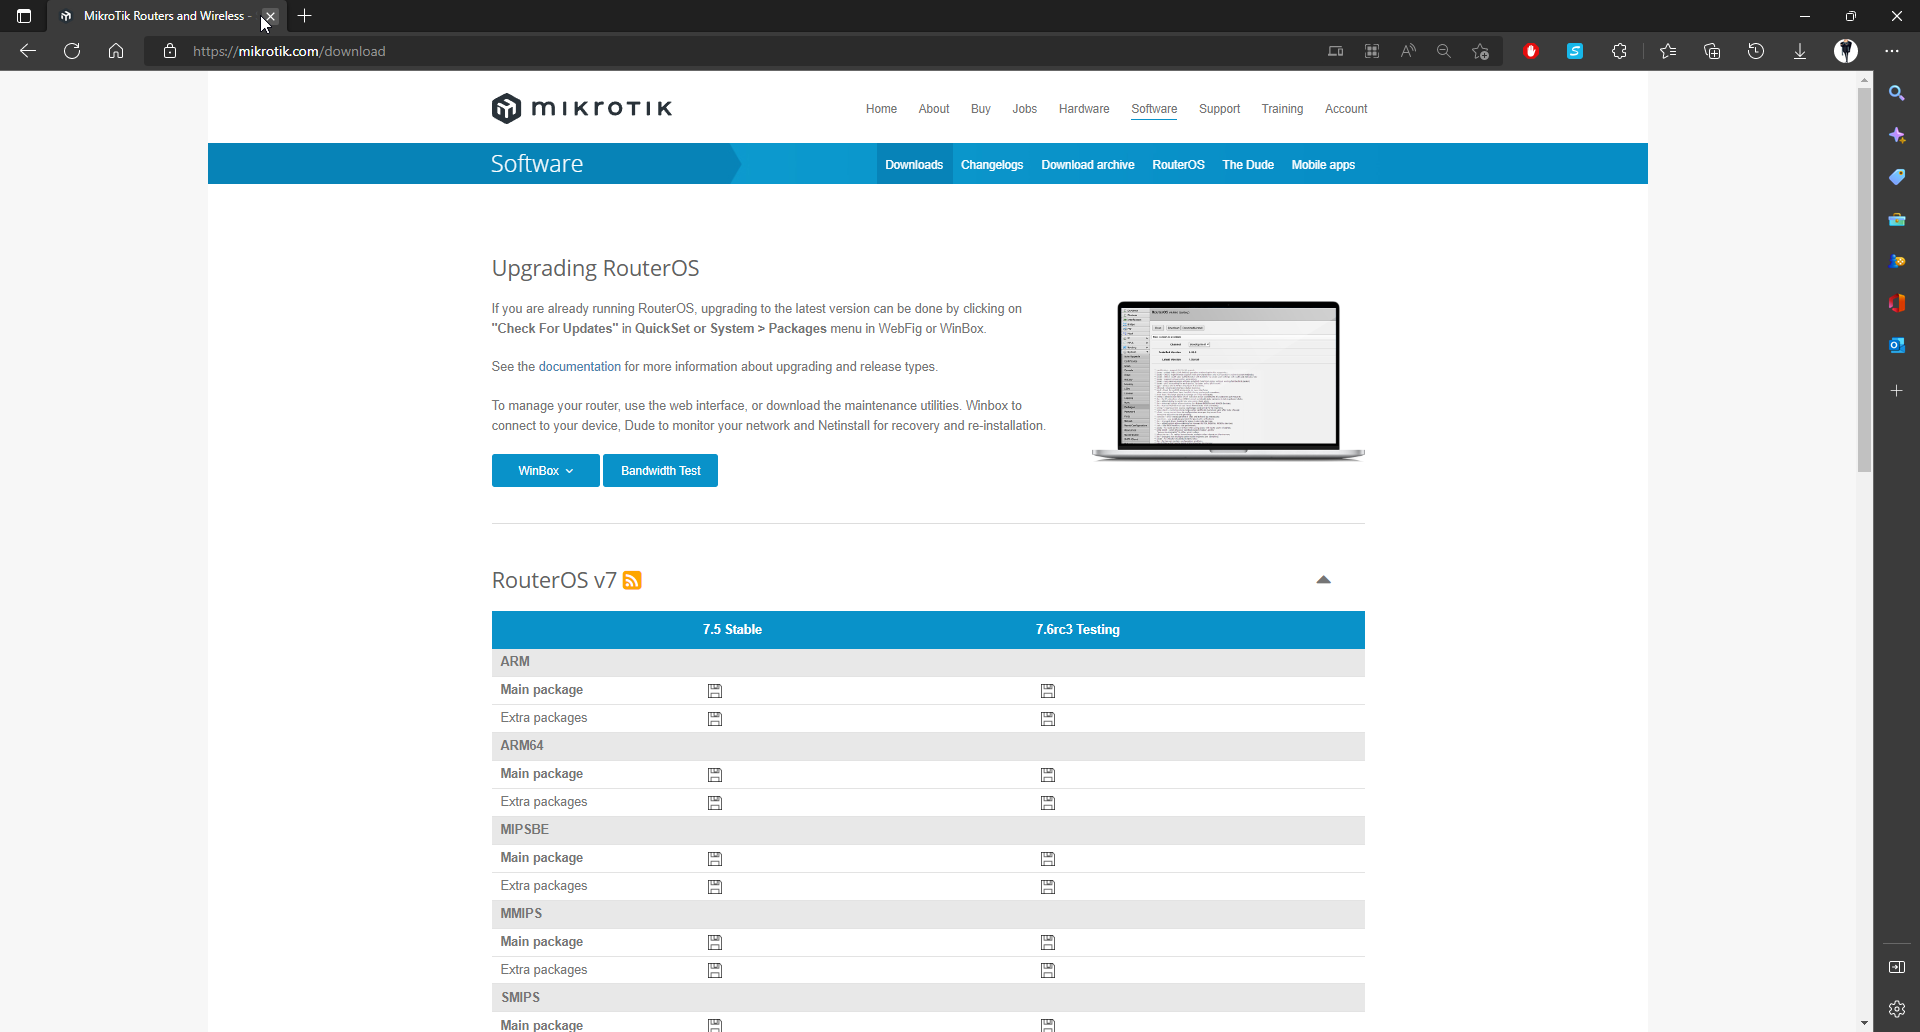
Step 1: Download the WinBox application
Link to page: MikroTik Routers and Wireless - Software
Direct Download Link: https://mt.lv/winbox64
Step 2: We need to make a slight change to the configuration of our hosted VM in VirtualBox. We are going to add two additional network interface(s) to our VM, which will allow us a total of 4 network interfaces for the VM. This will allow us to attach 3 routers directly accessible to our machine from the VM. To do so, open VirtualBox, and if the GNS3 VM is running, we need to shut it down.
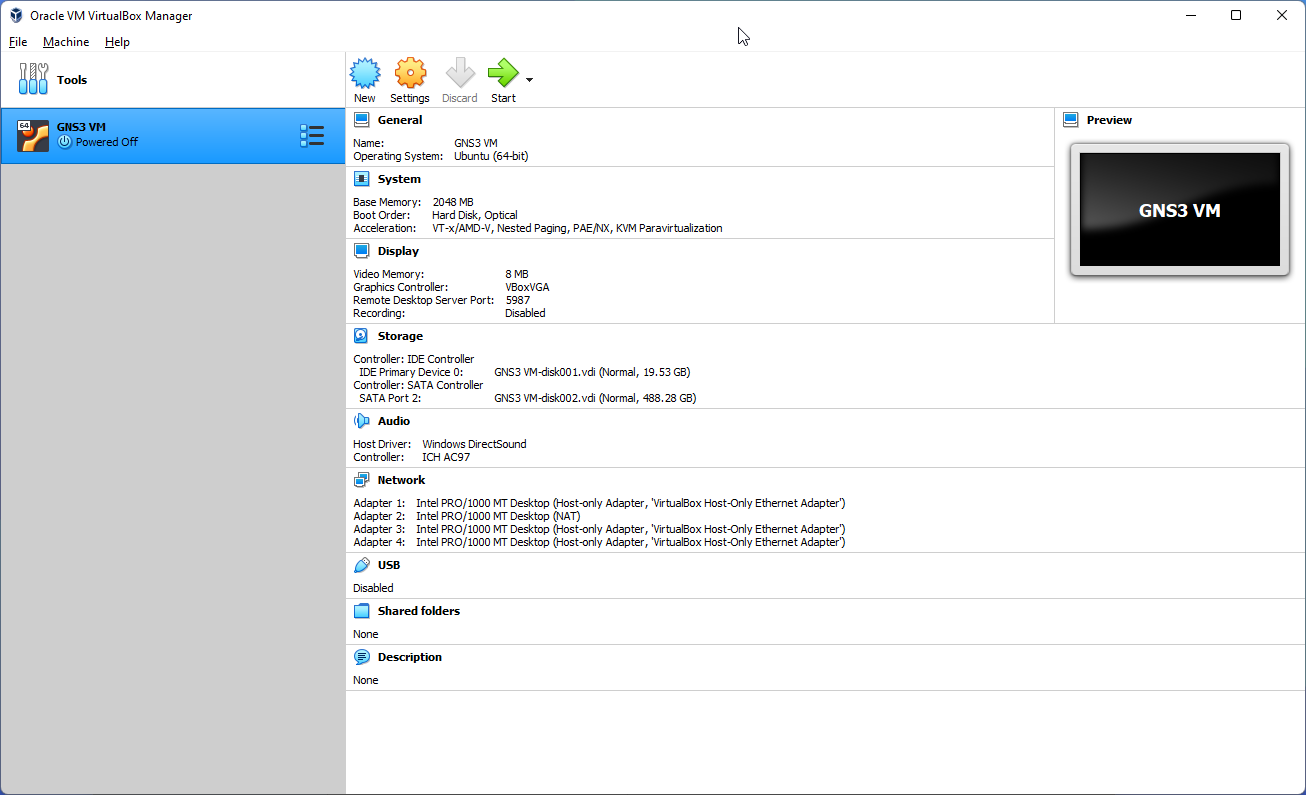
Step 3: Open the Settings for this virtual machine by clicking the Settings button in the VM menu bar.
Step 4: Under Settings -> Network, Select Adapter 3 and enable the adapter and change the adapter type to Host-only Adapter and the name to VirtualBox Host-Only Ethernet Adapter. This will you to access the VM appliances from your local machine over the virtual host adapter 3. Repeat the previous step for Adapter 4.
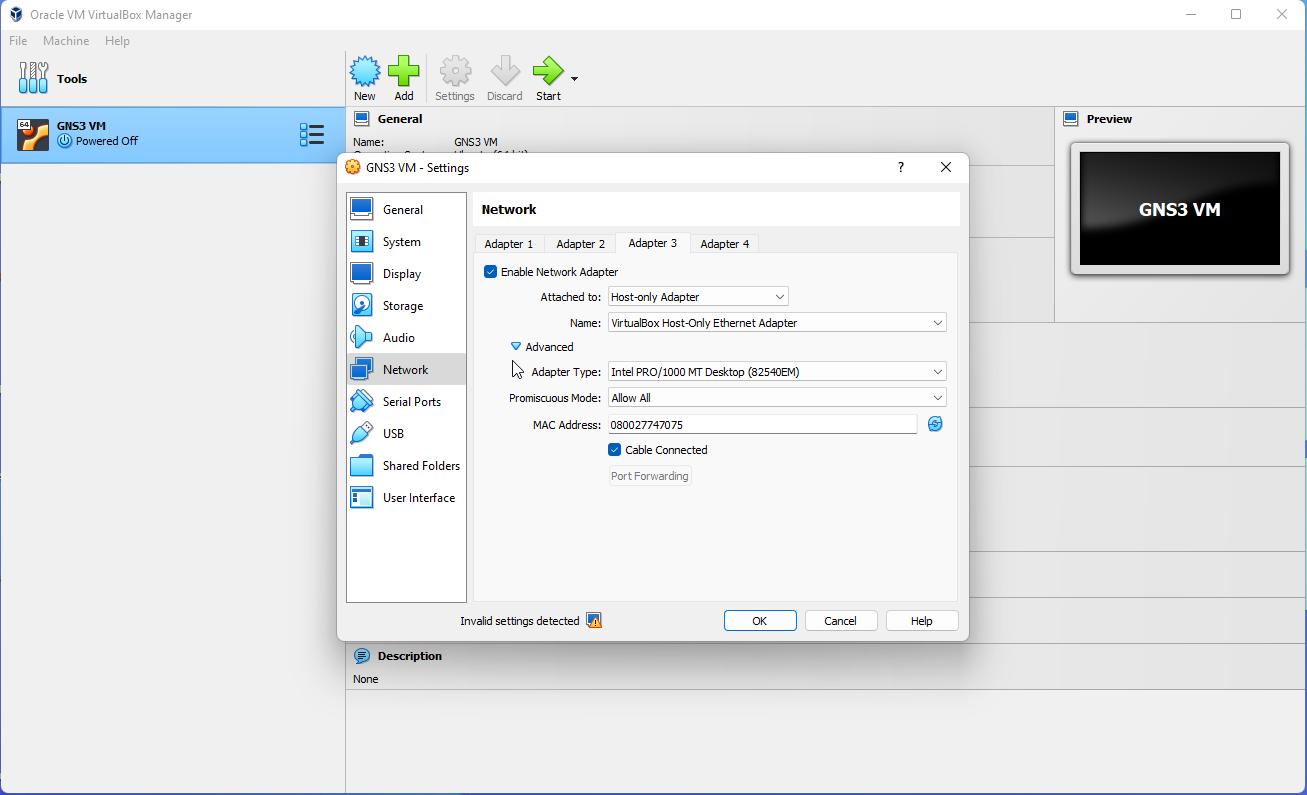
Click OK once this is complete.
Step 5: Open GNS3. Once GNS3 is open, allow it a few moments to start the GNS3 VM. Once the VM is running, create a new project.
Step 6: Click the Browse End Devices tab, and from the End Devices list, we are going to drag a Cloud onto our canvas as shown below. When/If asked to choose a server, please choose GNS3 VM (GNS3 VM)
Step 7: Click the Routers tab and select the Mikrotik CHR Router that we installed and drag the router onto our canvas as shown below. Again, when/if asked to choose a server, please choose GNS3 VM (GNS3 VM). Once the CHR Router is on our canvas, right click the Router and select Start to activate the router.
Step 8: Next, we are going to connect MikroTik CHR to the Cloud interface. To do so, click the Add a Link tab and click the Cloud device. A menu will appear with the list of available network adapters. We are going to choose one of the new network adapters we just added (in our case, eth2).
Then, click the MikroTik CHR device and select the network interface of the device to connect the link to (in our case, ether1).
Your canvas should look like the following once finished.
Step 9: Open Winbox (64bit) and hit the Neighbors tab. Your MikroTik CHR devices should show up in the list of neighbors as shown below.
The default login/password for a new MikroTik device is admin for the username and the password is empty. Once you log in by hitting the Connect button, a prompt will appear asking you to change the device password. Change the password to any password of your liking.