Installing EVE-NG using VMWare Workstation (Part 1)

The Emulated Virtual Environment – Next Generation (EVE-NG) is a powerful network emulation platform that allows engineers to build complex topologies for study, testing, and training. Running it on VMware Workstation provides a flexible way to deploy EVE-NG on a desktop or laptop without needing dedicated hardware.
Requirements
Before beginning, make sure you have the following:
- VMware Workstation Pro or Player installed
- At least 8 GB of RAM (16 GB recommended)
- Quad-core CPU or higher with virtualization support enabled in BIOS
- At least 50 GB of free disk space
- EVE-NG ISO image, downloadable from the official EVE-NG website
https://www.eve-ng.net/index.php/download/
Steps to Install
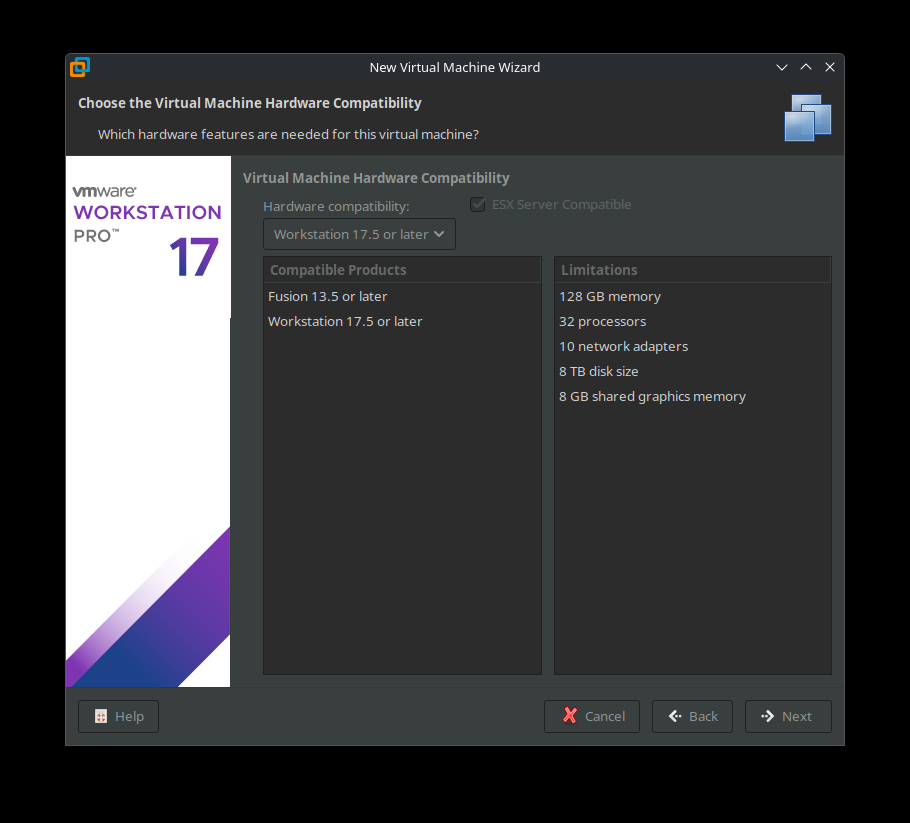
1. Create a New Virtual Machine
Open VMware Workstation, select Create a New Virtual machine and select Custom, Next. Select your Virtual Machine hardware compatibility

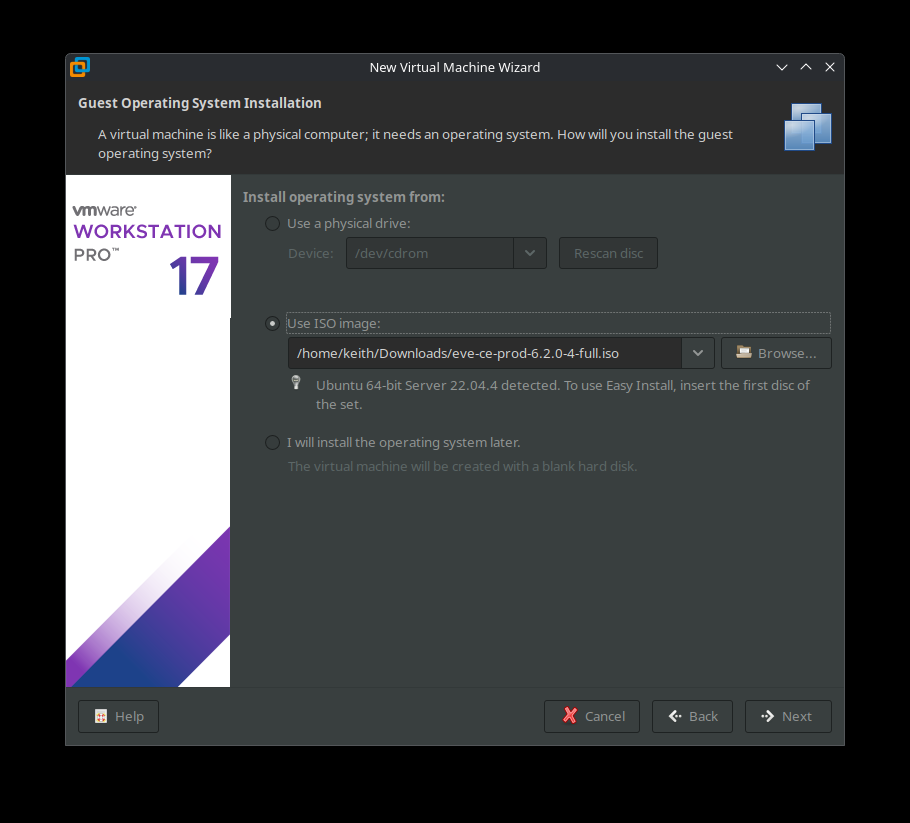
2. Select "Use ISO Image".
Browse to the location of the EVE-NG ISO image that you downloaded.
3. Select a guest operating system: Linux and select the version: Ubuntu 64-bit.

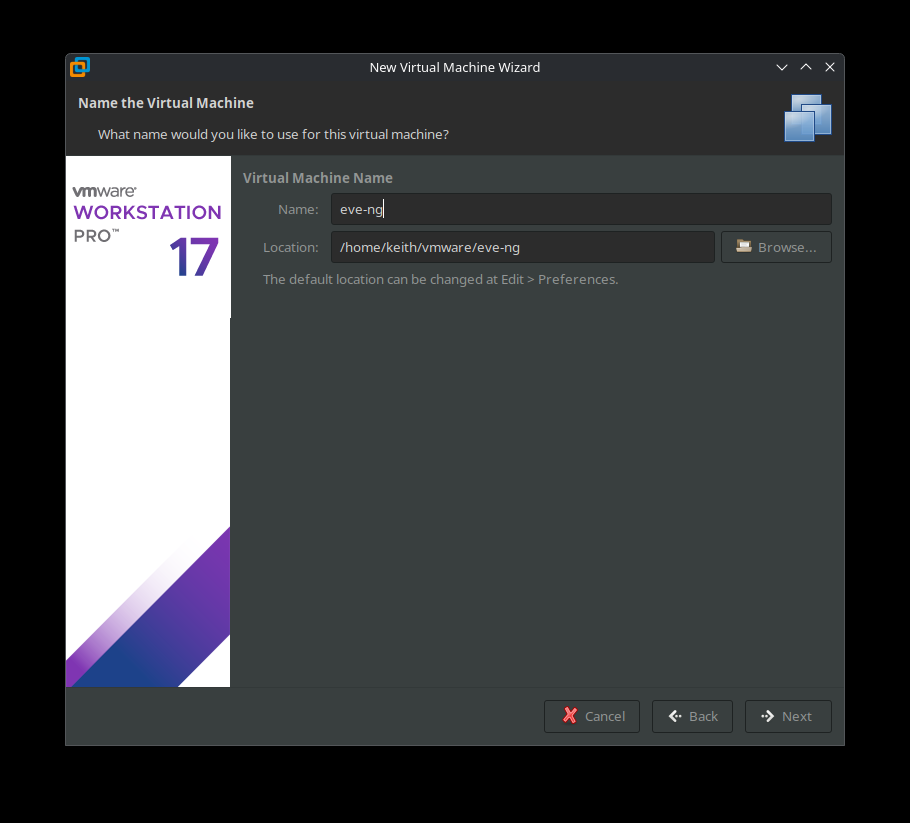
4. Configure Virtual Machine
Enter a name for your EVE-NG VM and select the location where your EVE VM will be stored on the host PC.
5. Processor Configuration
Select the number of processors. Do not exceed the maximum number of total processor cores that your PC supports. (This can be adjusted later if needed if you assign too few and feel that the system is running sluggishly)

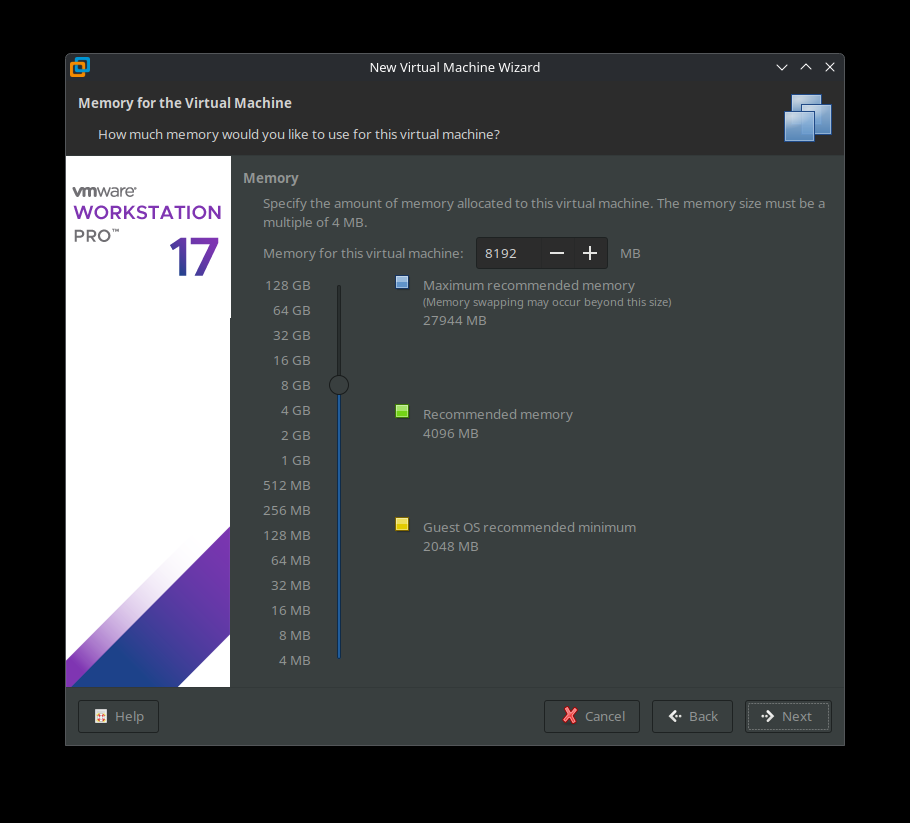
6. Memory Configuration
Assign the amount of memory you would like to allocate for this virtual machine. Again, do not go above the maximum amount of recommended memory as this can cause stability issues with the host PC.
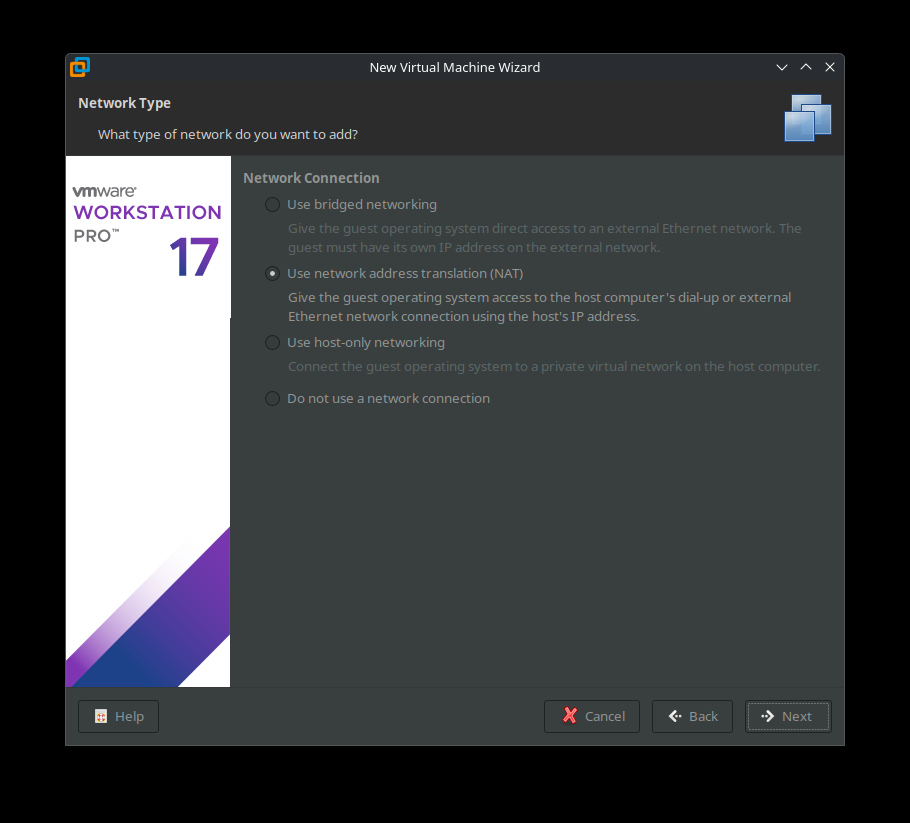
7. Select your network adapter
It's recommended to choose the NAT adapter option to avoid EVE management interface IP changes. For laptops, this is important because this can happy anytime the laptop is connected to a different SSID.
8. Select I/O Controller Types
Leave I/O controller type as recommended (LSI Logic).

9. Select Disk Type
Leave disk type as recommended (SCSI).

10. Select Create a New Virtual Disk

11. Specify Disk Capacity
Select your desirable drive size and select "Store virtual disk as a single file." It is recommended to set not less than 200GB for the disk size. Click Next 2 times.


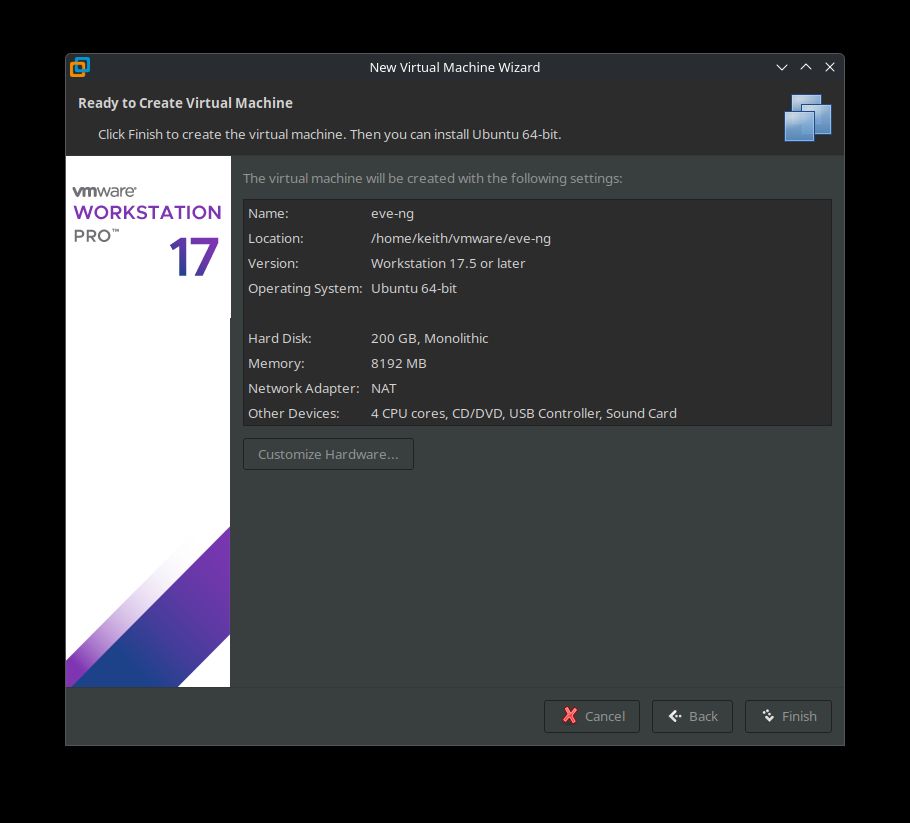
12. Create Virtual Machine
Click Finish to confirm virtual machine settings.
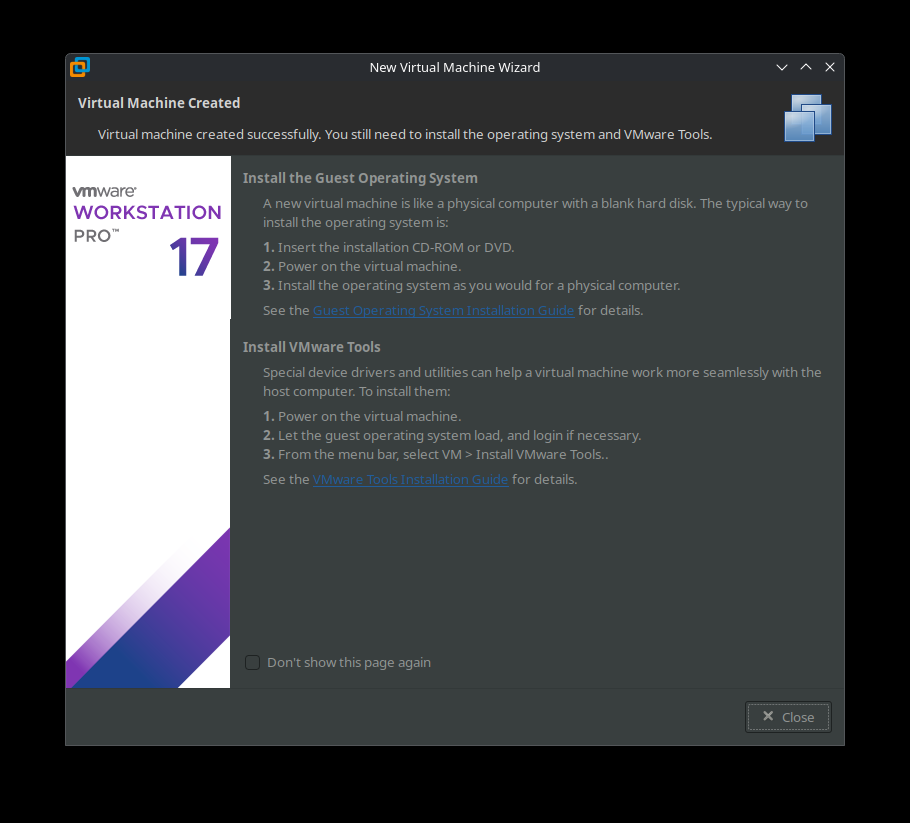
13. Power on the Virtual Machine.
In this part of the series, we showed you how to prepare the virtual machine for the EVE-NG install. In the next part of the series, we are going to cover the EVE-NG installation inside our virtual machine.