Creating a Static IP address entry for a host

What is a static IP address entry and how does it differ from a dynamic IP address entry? The main difference between static and dynamic IP addresses is that a static IP address stays the same while a dynamic IP address changes. If an IP address is fixed, it will remain the same every time a device connects to the network.
How is this helpful? Say for example, you have a printer on your network, and that printer is using DHCP services, and receives an address of 192.168.1.10. You or your network administrator set up the software and the software asks for the IP address of the printer, and you enter 192.168.1.10. Then a few days later, your network goes out, and comes back up, and your printer is requesting an IP address and receives 192.168.1.11 from the server. Now, machines that were sending print jobs to 192.168.1.10 will possibly fail because they can no longer find the printer that was attached to that address – it has moved to a different address. To resolve this issue, we are going to reserve this IP address for this device, and we can tell our router that when this device is seen on the network, always assign it this particular address.
How do we create a static entry?
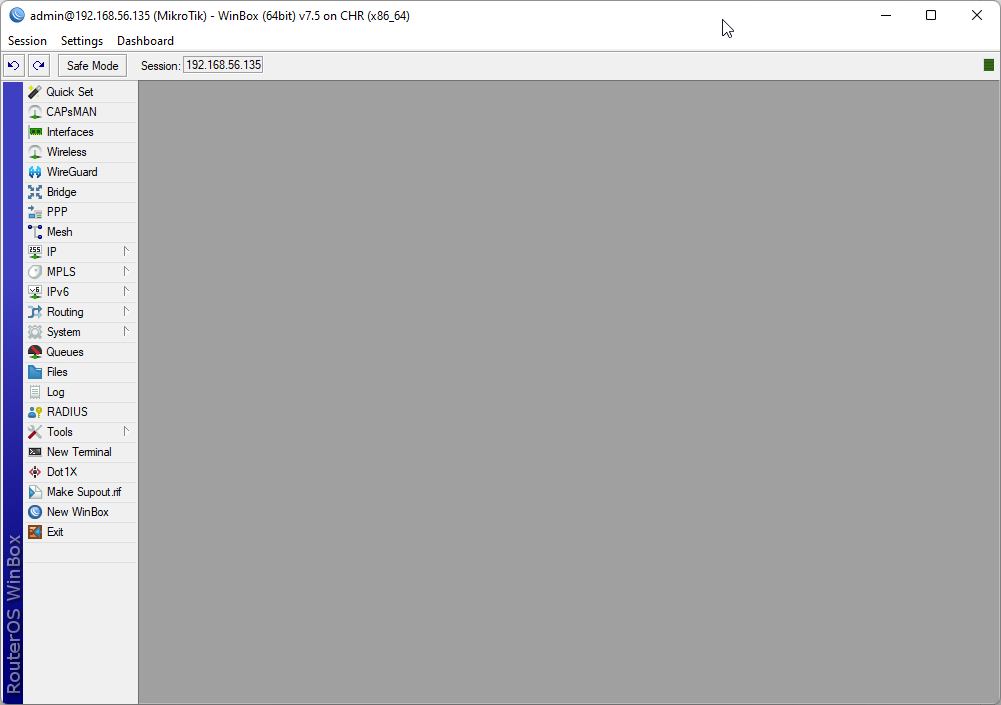
Step 1: Open WinBox and log into the router.
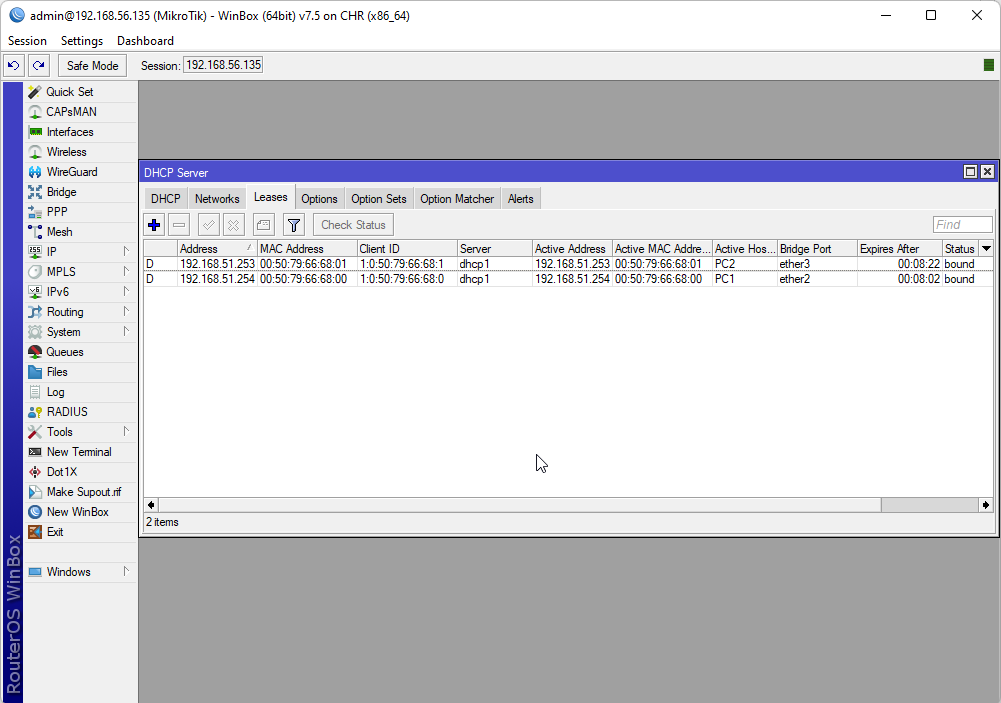
Step 2: Go to IP -> DHCP Server and click the Leases tab
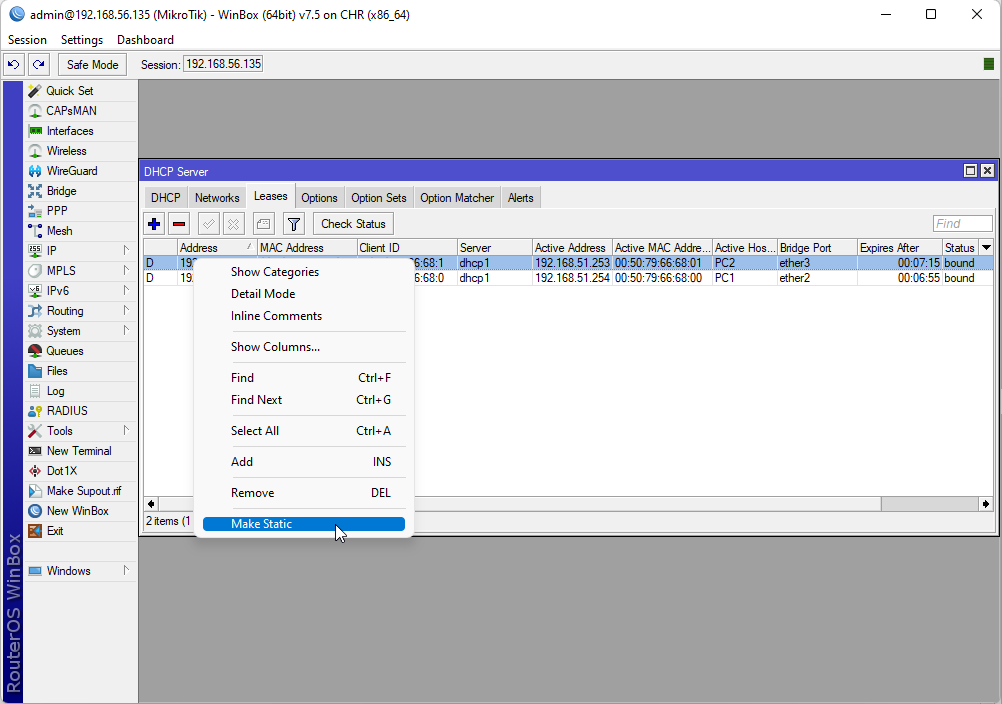
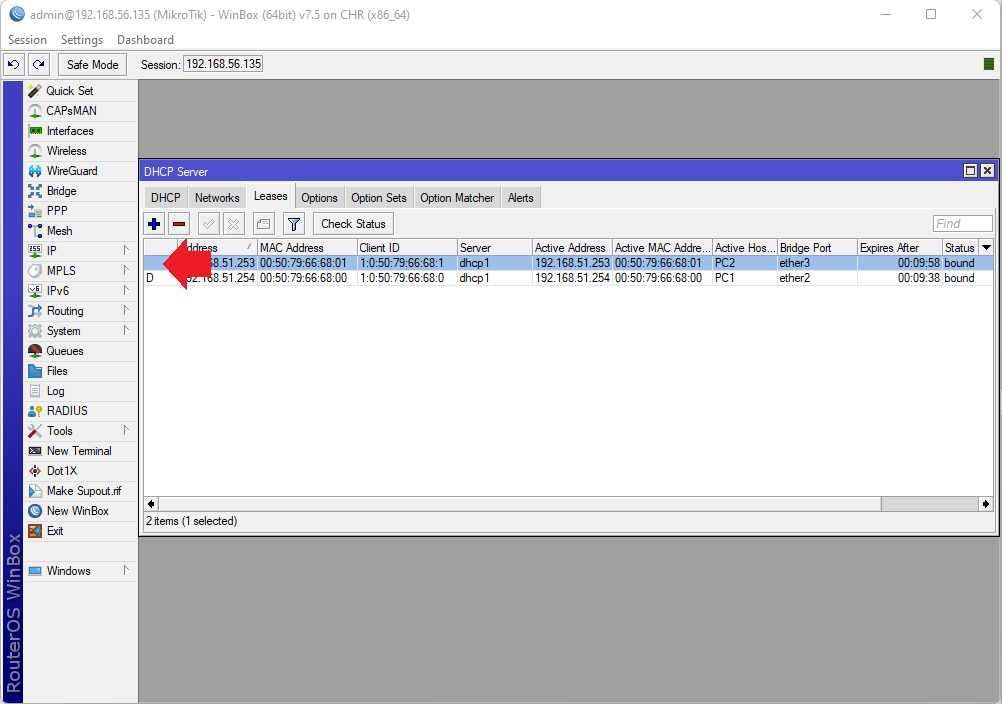
Step 3: Find the device in the list that you want to make static. Right click on the entry and select Make Static from the drop down list.
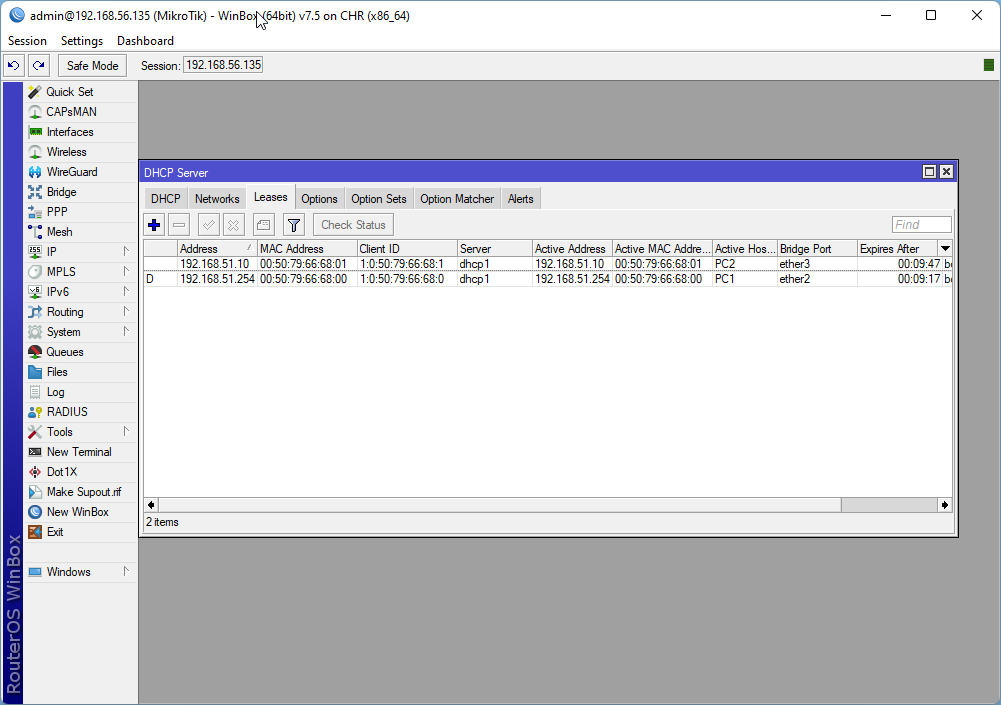
Notice that the D in the first column, signifying that the device entry is dynamic, has now disappeared. This indicates that this address is static and no longer dynamic.
Let's say we want to change the IP address of the static entry. To do so, double click on the line that we want to modify. For instance, if we want to change this entry from 192.168.51.10, we would change the address in the DHCP lease address entry and hit Apply or OK to make the change permanent.
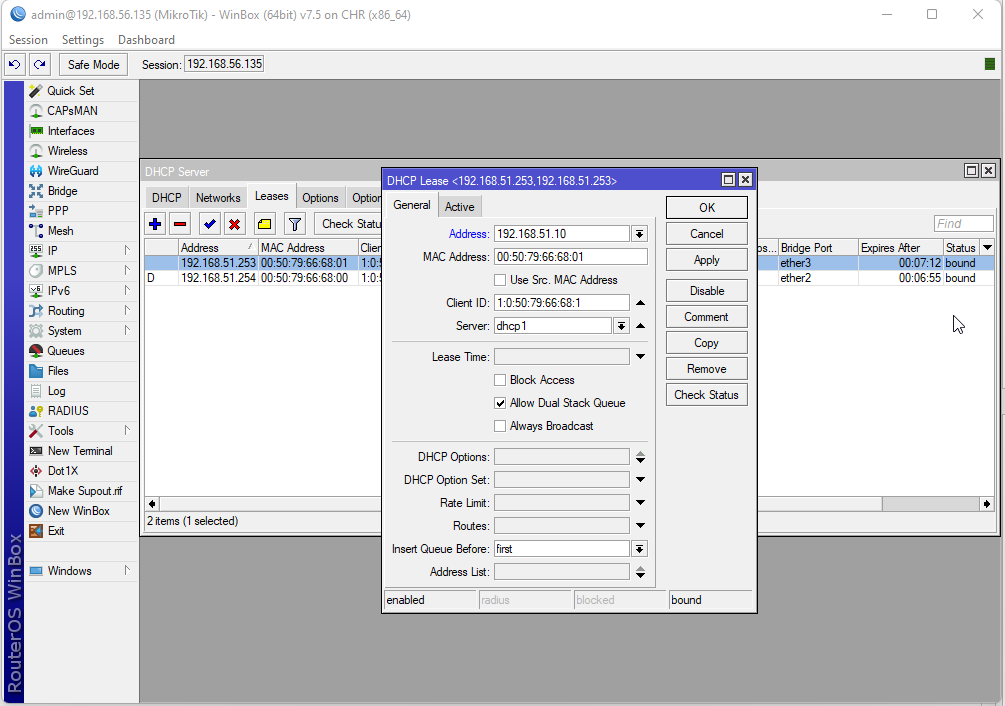
Notice that now our static IP address entry has been updated.
