Changing the Router Host Name
By default, the router will have the name MikroTik as it's network host name. Let's change it to something a little more understandable. Since this is our first router, we are going to change the hostname to Router1.
Step 1: Click System -> Identity in the menu bar to the left.
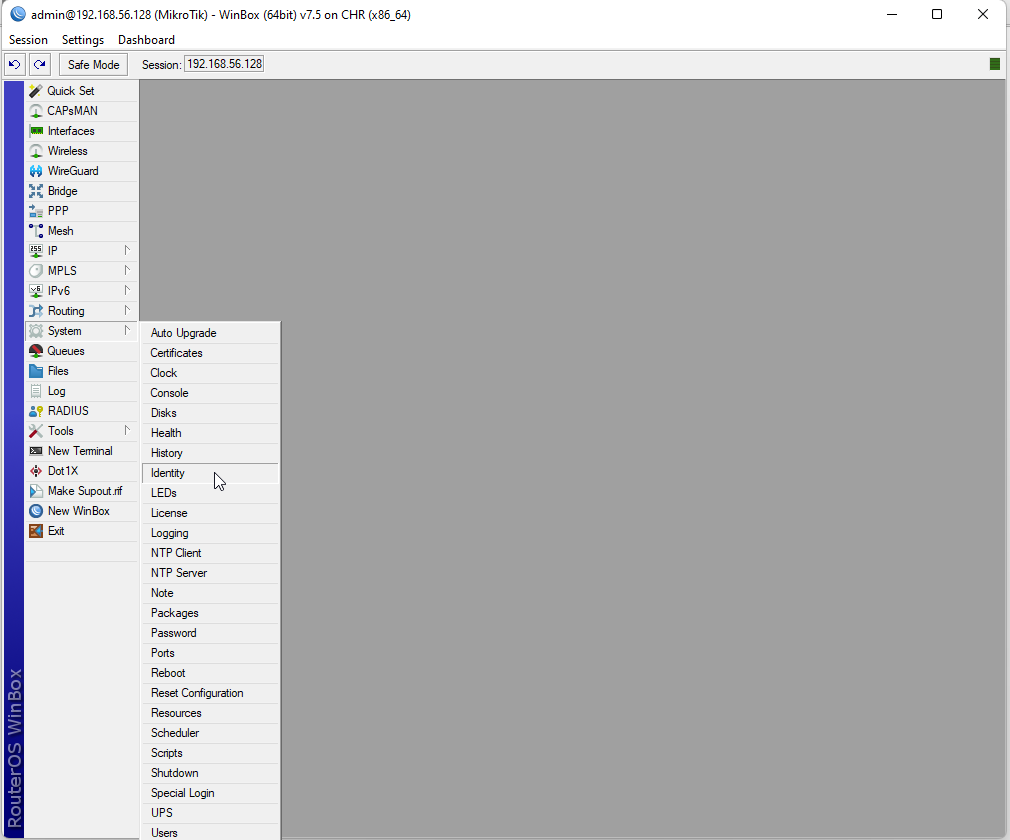
Accessing the System Menu to change the router host name.
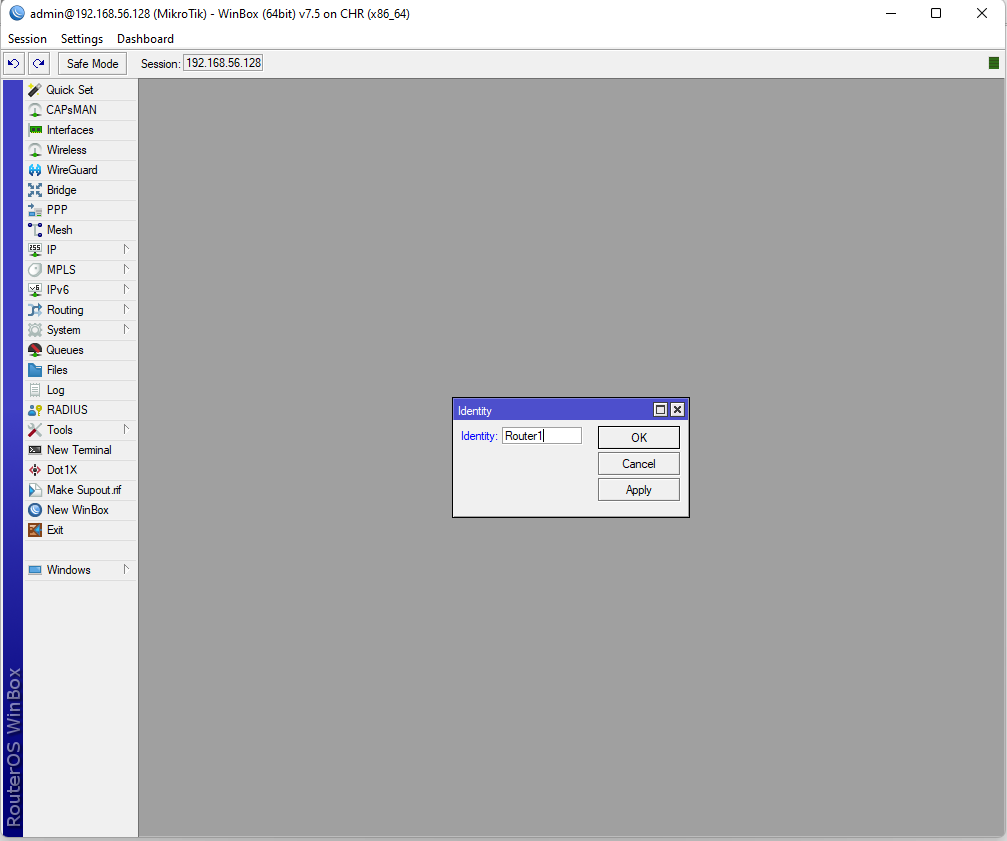
Step 2: Assign a new identity to the router and hit OK when complete.
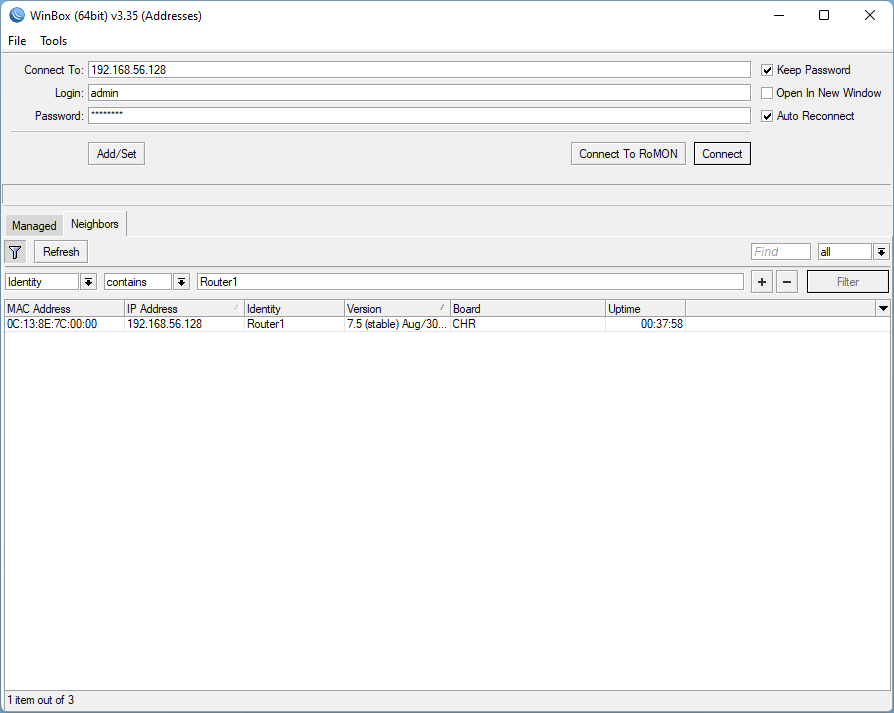
Disconnect from the router in WinBox and again pull up the Neighbors tab. You should notice that the router name has changed from MikroTik to Router1. Go ahead and log back into the router, this time using the password that you set when you first logged in.
We have successfully changed the router's hostname from MikroTik to Router1. We are going to change it again, this time using a different method. We are going to issue a command to the router to change the hostname programatically. To do so, click the New Terminal button in the menu to the left to open a terminal window.

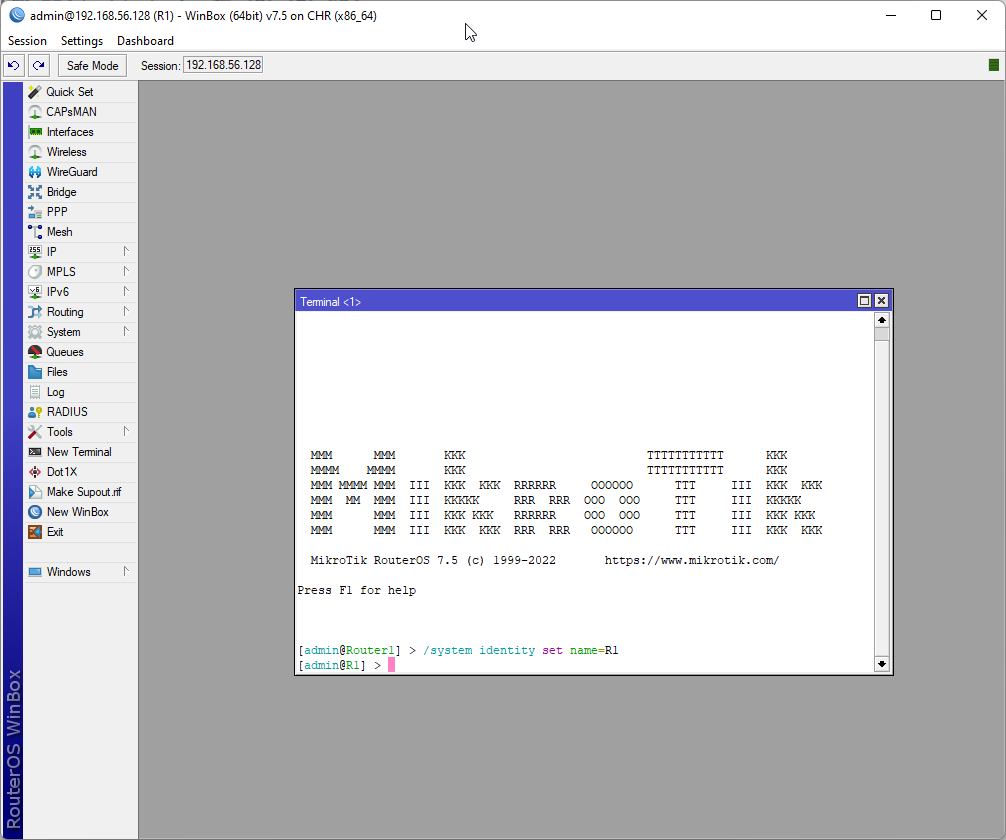
We are going to change the hostname from Router1 to R1. To do so, issue the following command in the terminal window and hit enter.
/system identity set name=R1
Notice how the name of the router instantly changed from Router1 to R1 in the console. Now it says admin@R1 instead of admin@Router1