Adding WinBox to GNS3 as an appliance
Step 1: Go to the GNS3 marketplace Appliances | Marketplace | GNS3. In the Search Results bar, type in WinBox. You should see the following appliance.
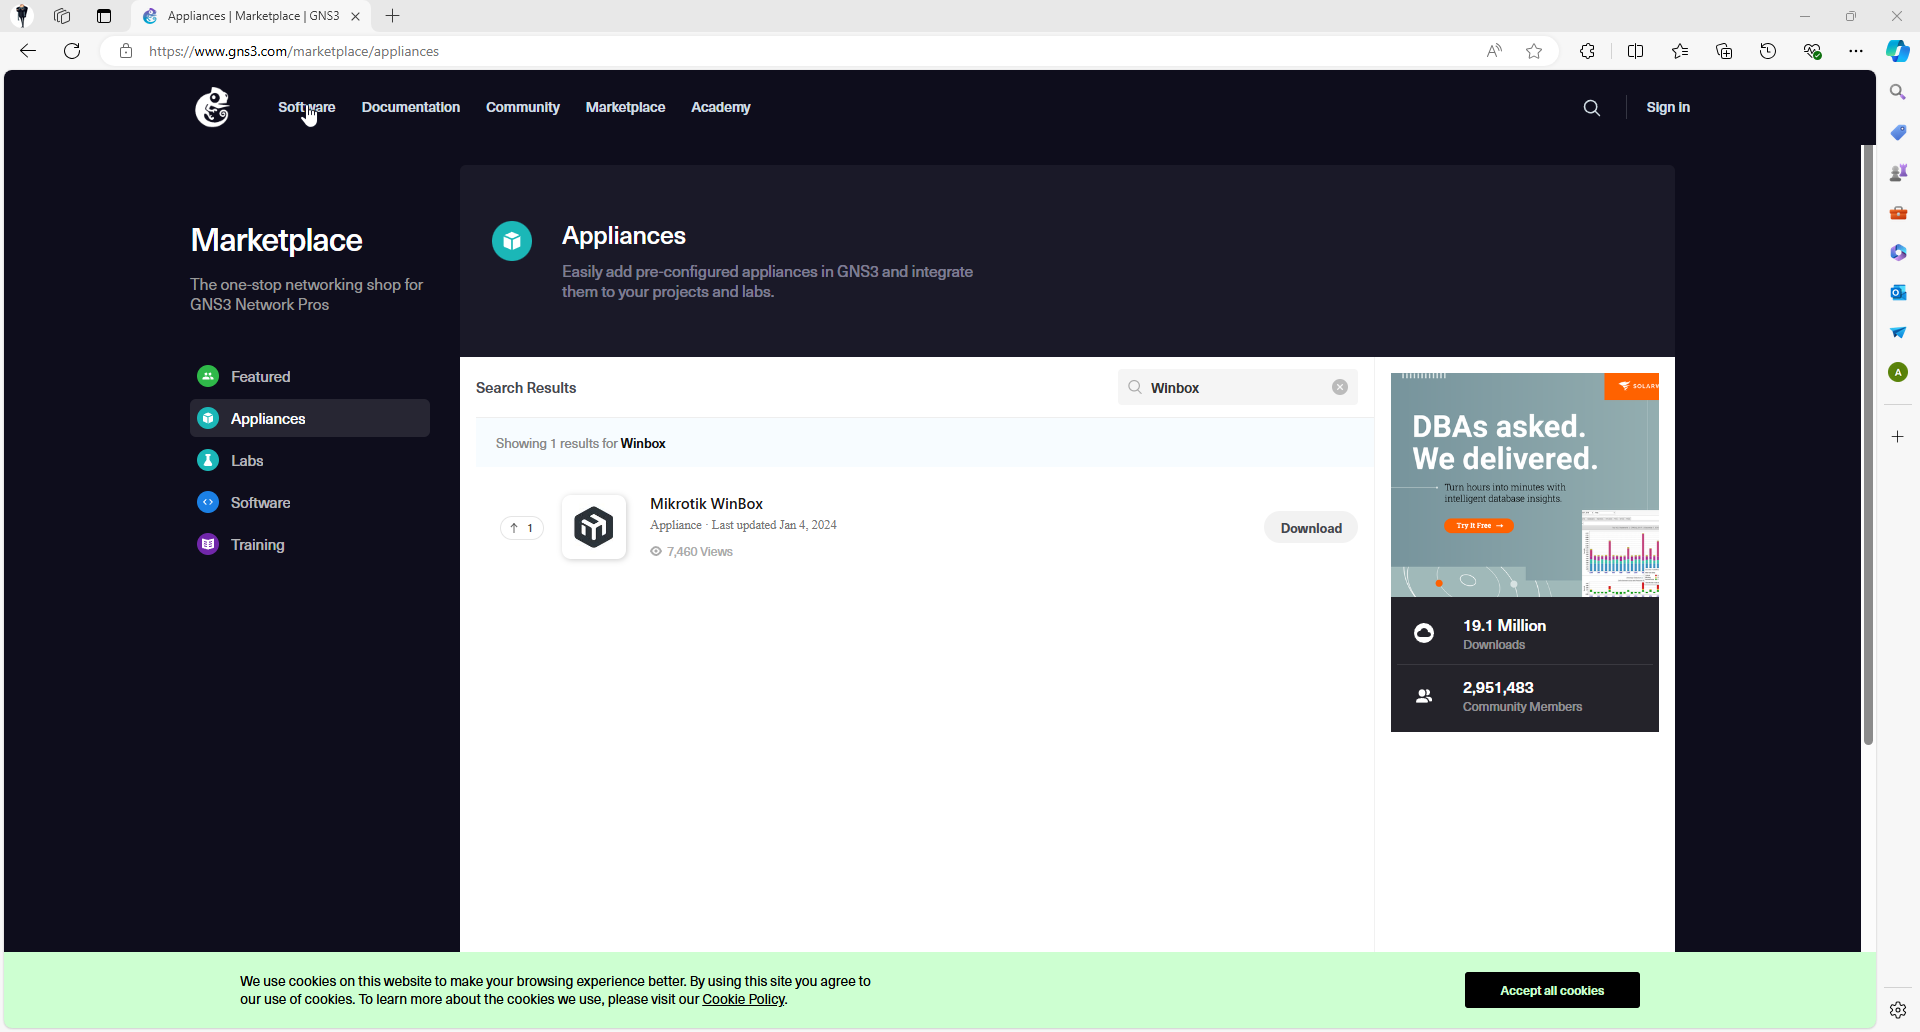
Click the Download button to download the appliance to your PC.
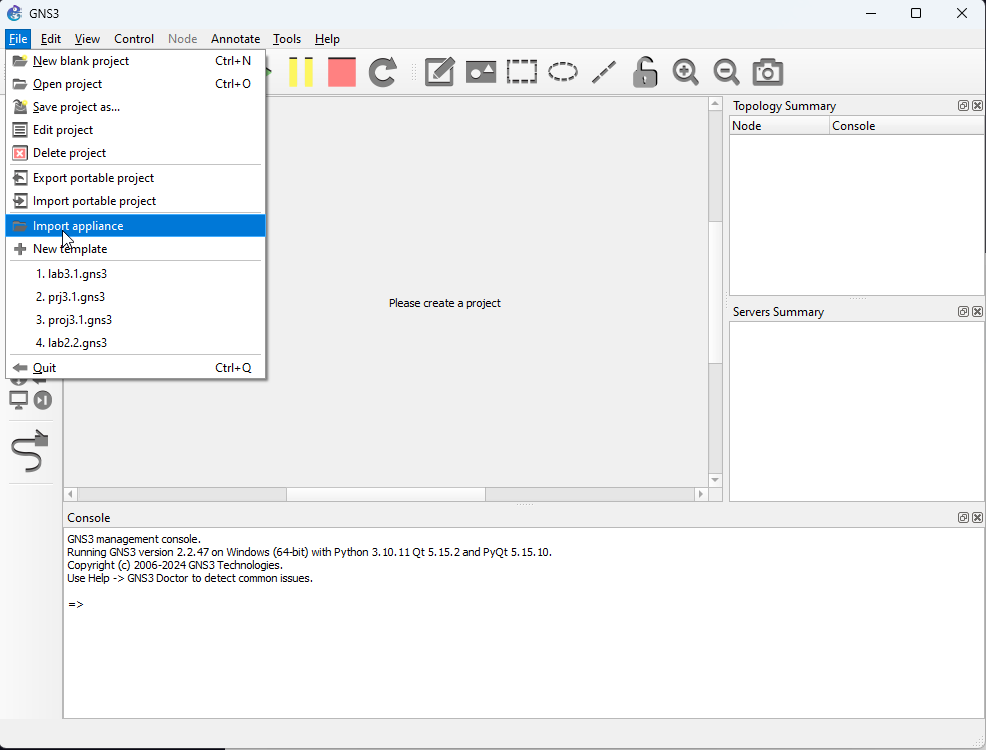
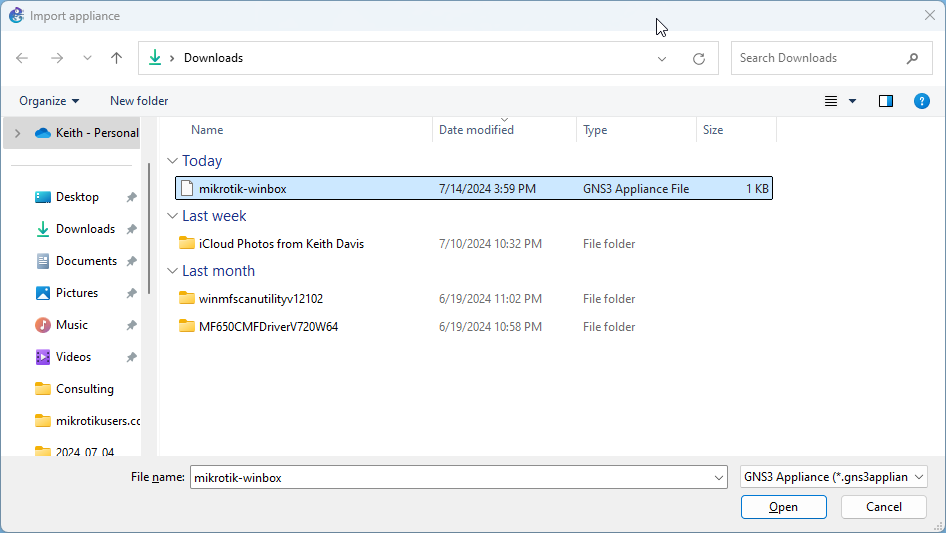
Step 2: Open GNS3. Once GNS3 is open, Navigate to File -> Import appliance .
Step 3: Select the WinBox appliance that we just downloaded and click Open
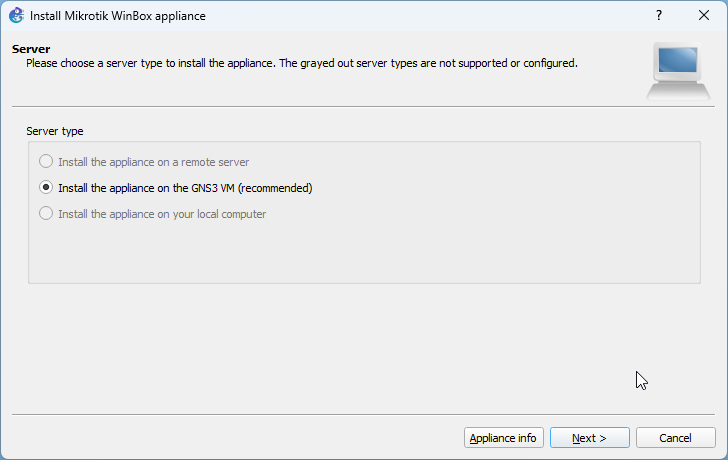
Step 4: Select "Install the appliance on the GNS3 VM (recommended)" and click Next to continue.
Step 5: Click Finish to import the appliance. The appliance will be available in the Guest Category.

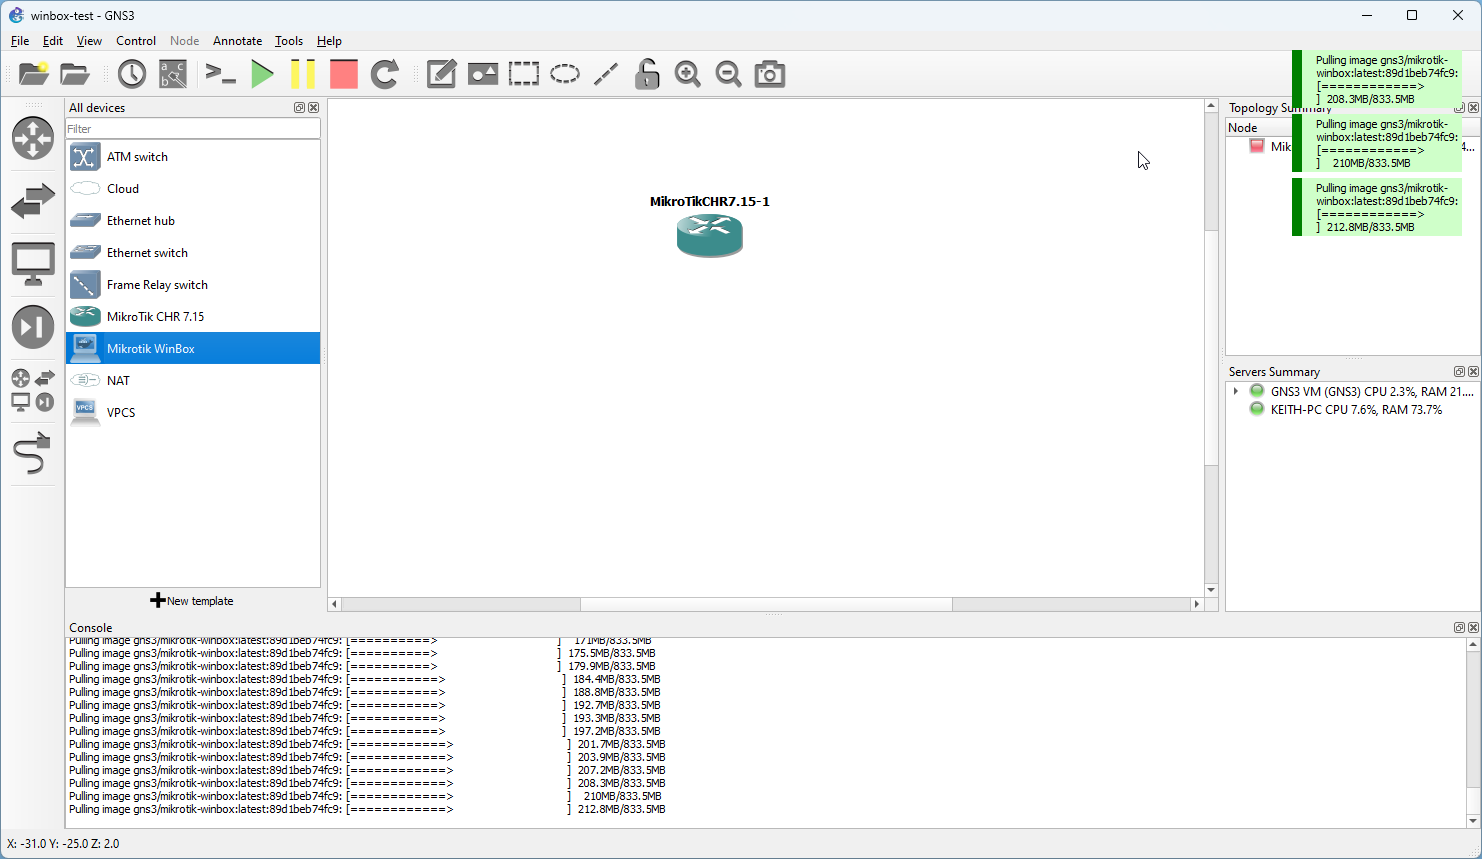
The first time we try to pull in a Winbox instance into our workspace, GNS3 will attempt to download the virtual image for the appliance as shown here