Adding additional NAT networks to VMware Workstation Pro
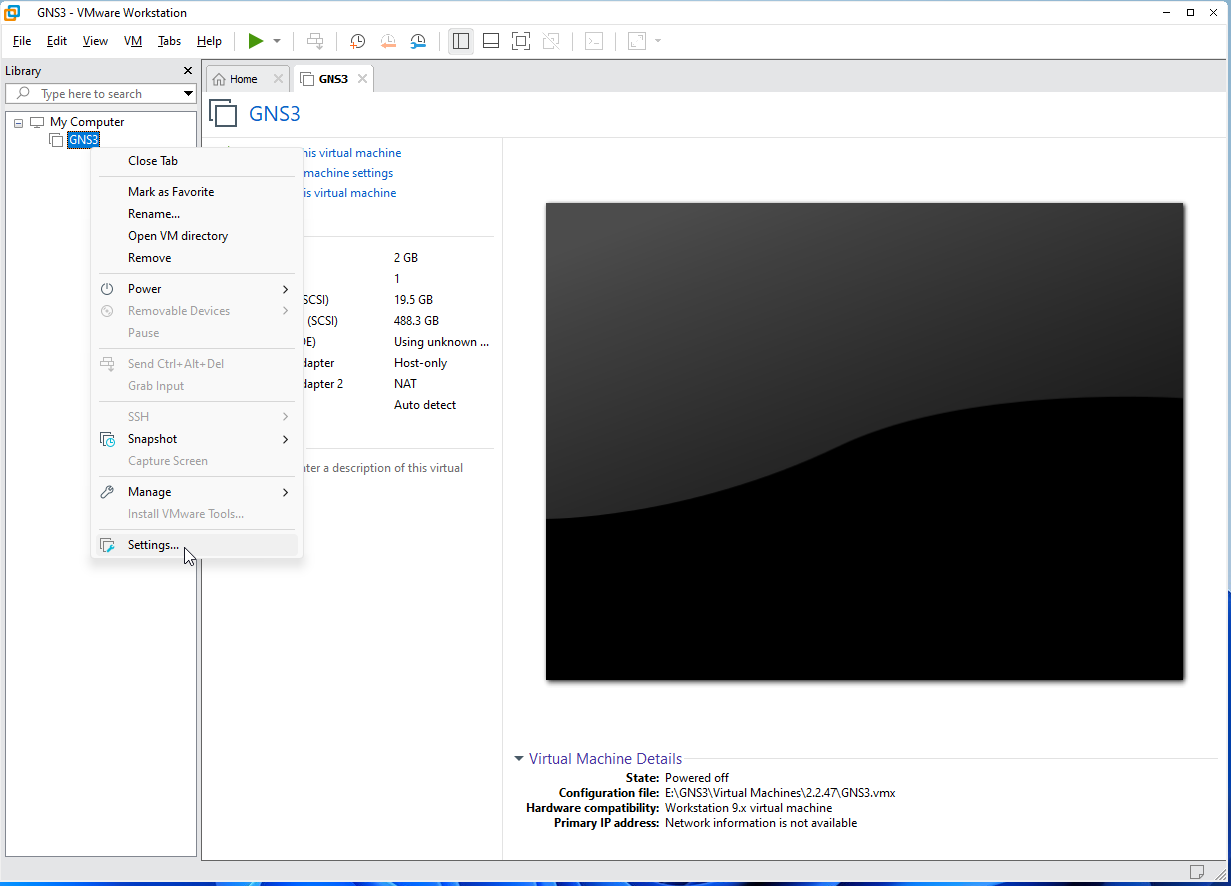
Step 1: Open VMware Workstation Pro. Right click on the VM Instance for GNS3 and go into Settings.
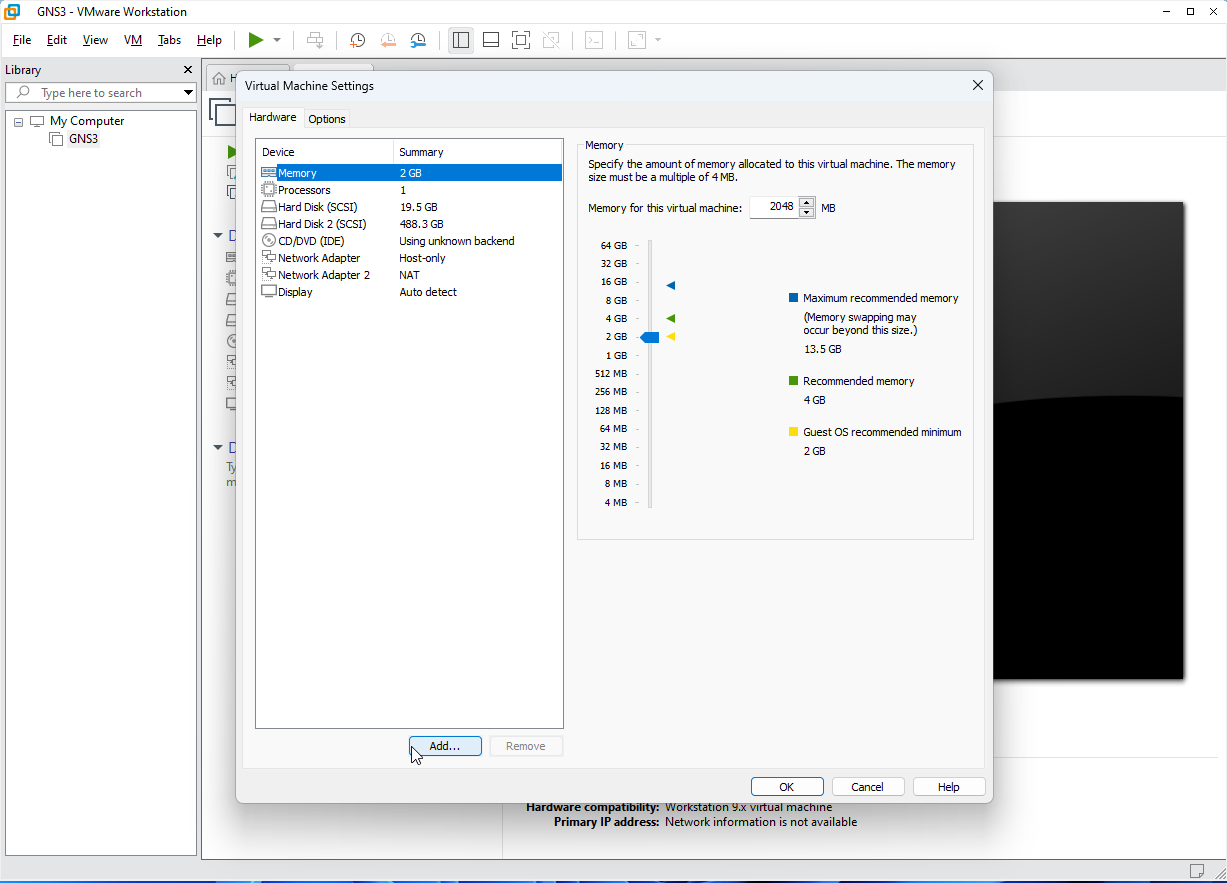
Step 2: Click the Add button to add a new virtual hardware device.
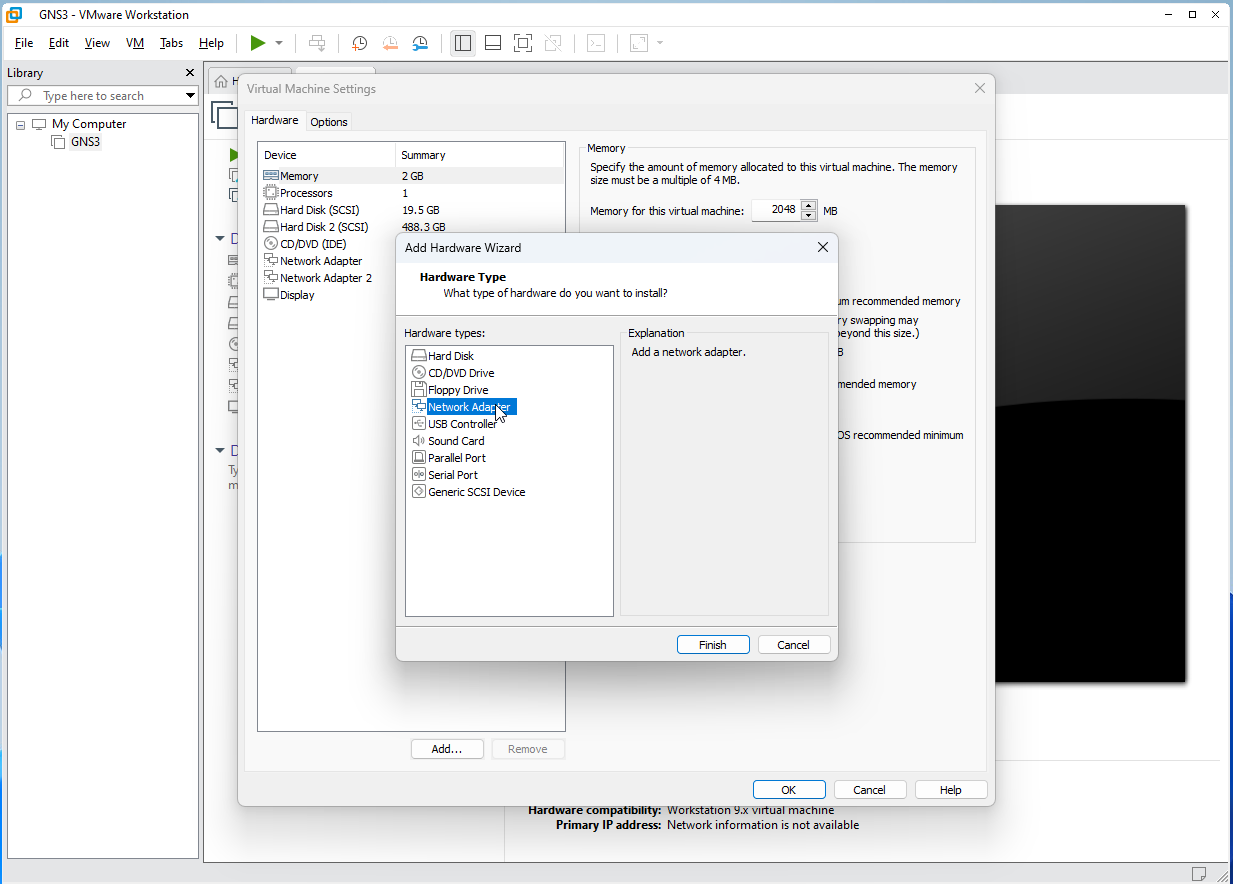
Step 3: Select Network Adapter from the list and click Finish.
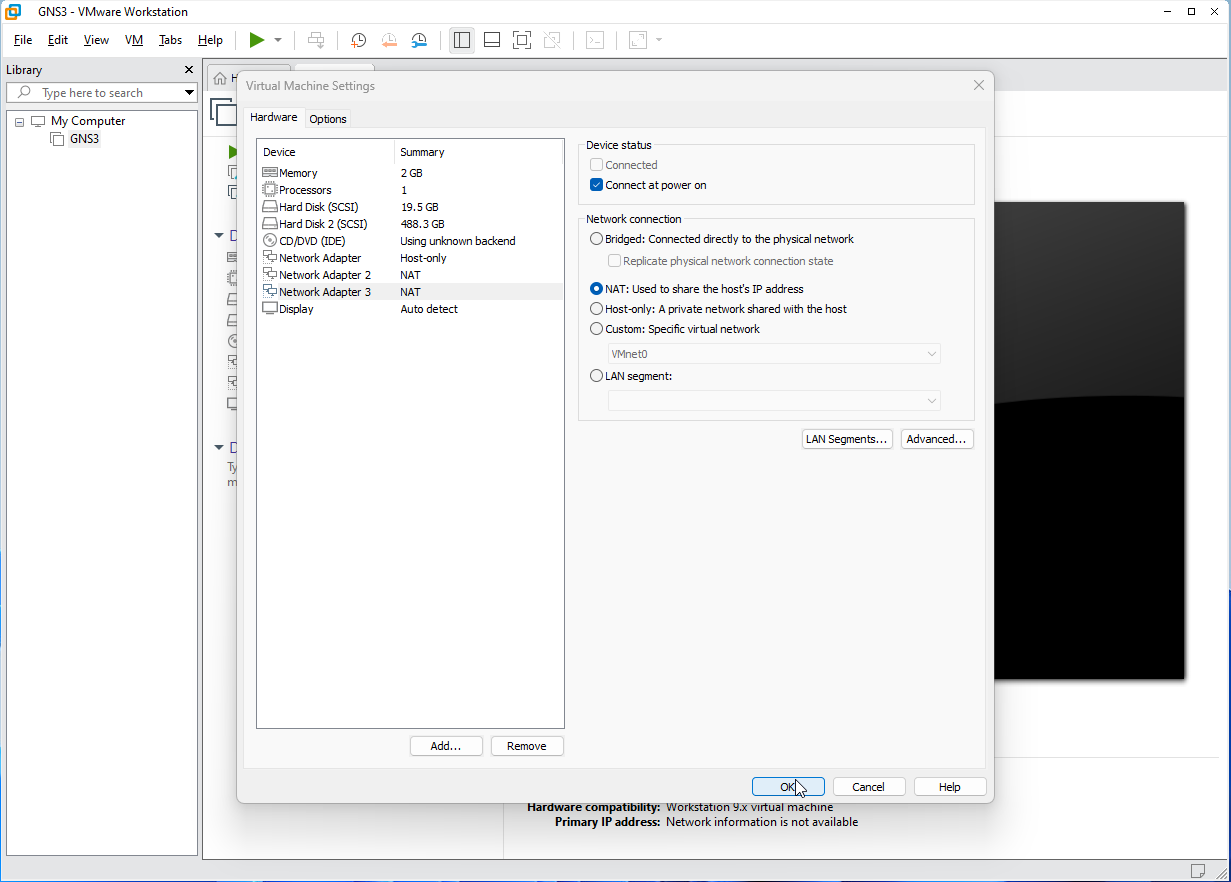
Step 4: Make sure that NAT: Used to share the host's IP address is selected and click OK. You should notice in the hardware options the new network adapter as shown. (Network Adapter 3)